News & BLOG
Project #Super71 - Front Right Wheel Well
This is one strange area!
As I was ripping this rusty part of the Super Beetle apart I couldn't help think about how strange it was. I spent many hours just thinking about it and looking at pictures to try and make sense of what this area of the bug looked like before It all rusted away. I searched online and had trouble finding solid examples of the inside workings of the inner section of the front wheel well area. I had no worries that I could fix it, but I wanted to copy what ever VW was doing back in 1971. After a few weeks I realized that VW really didn't have an idea what they were doing here either.

This section of the Beetle is where VW decided to chop off the standard front end and fit their iconic design with something new. In 1971 we got the 1302 Super Beetle. For this first generation of the Super Beetle, everything from the front windshield and firewall forward was replaced. The area I was working on looks like a hack job because VW just retrofitted the Bug with some creative brackets and sheetmetal work.
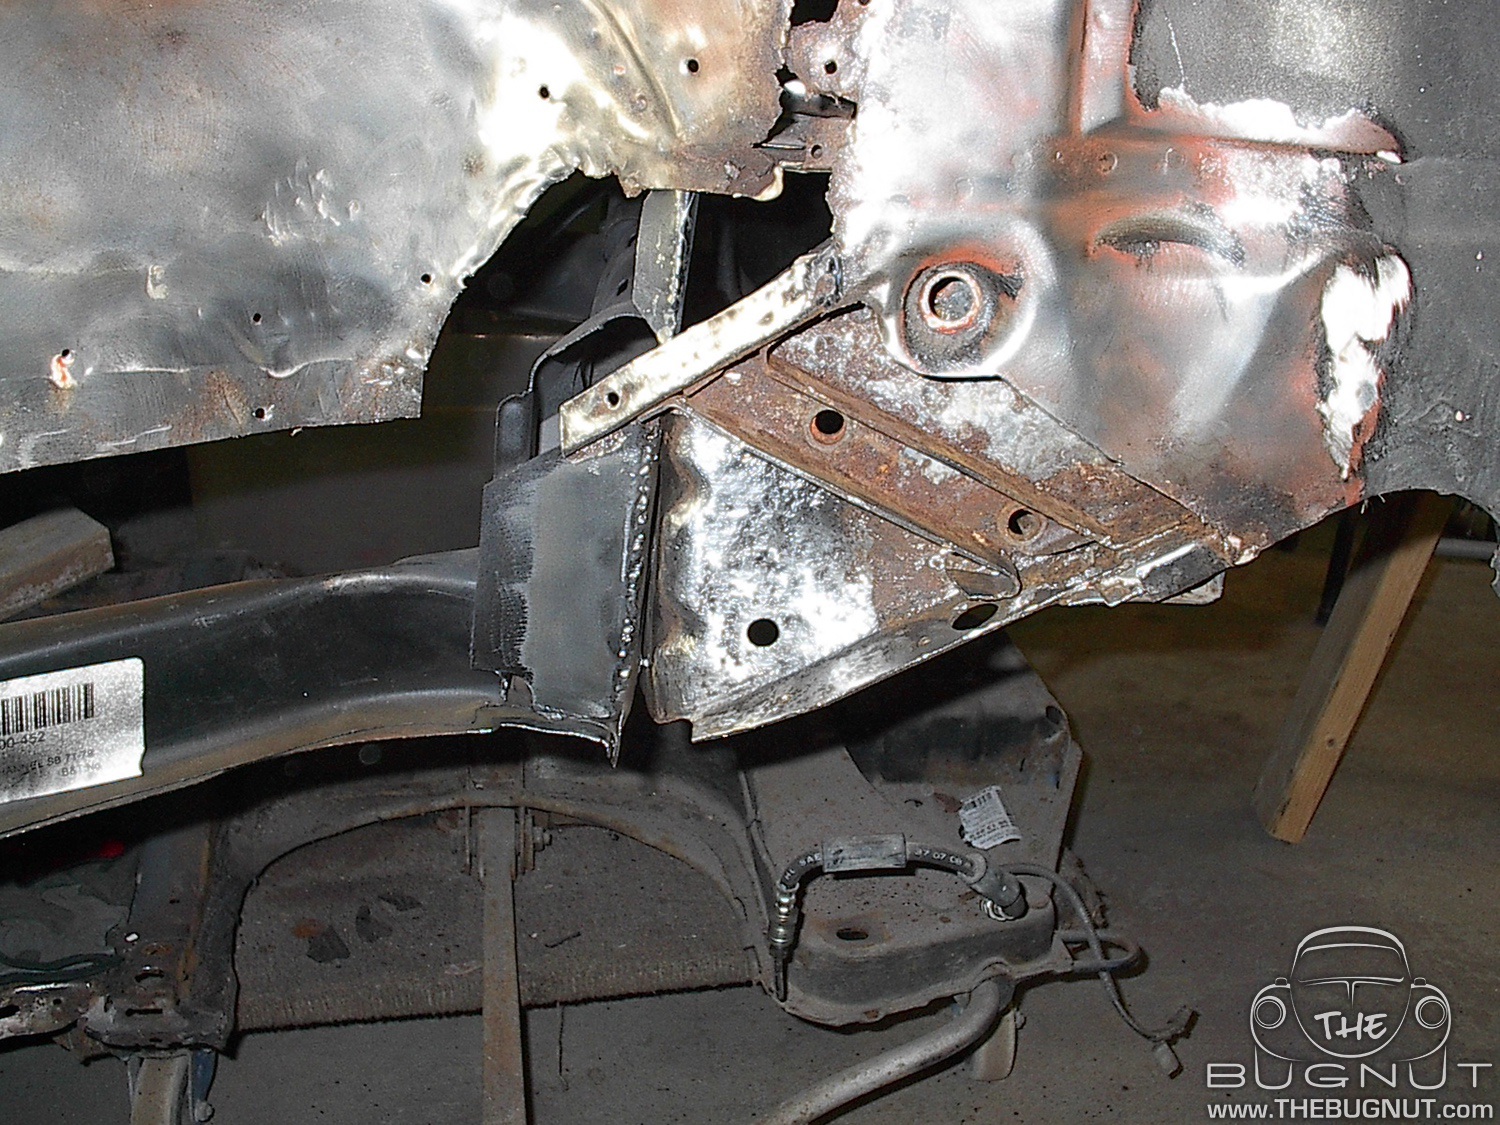
So with my limited knowledge of exactly how this section was supposed to look like from the factory I started the repair process. I know what needs to happen, so I figure it would slowly make sense and I tackled one small section at a time. I started by simply cleaning up the firewall bracket area. I removed old rusty mystery metal and anything that didn't look like it belonged.
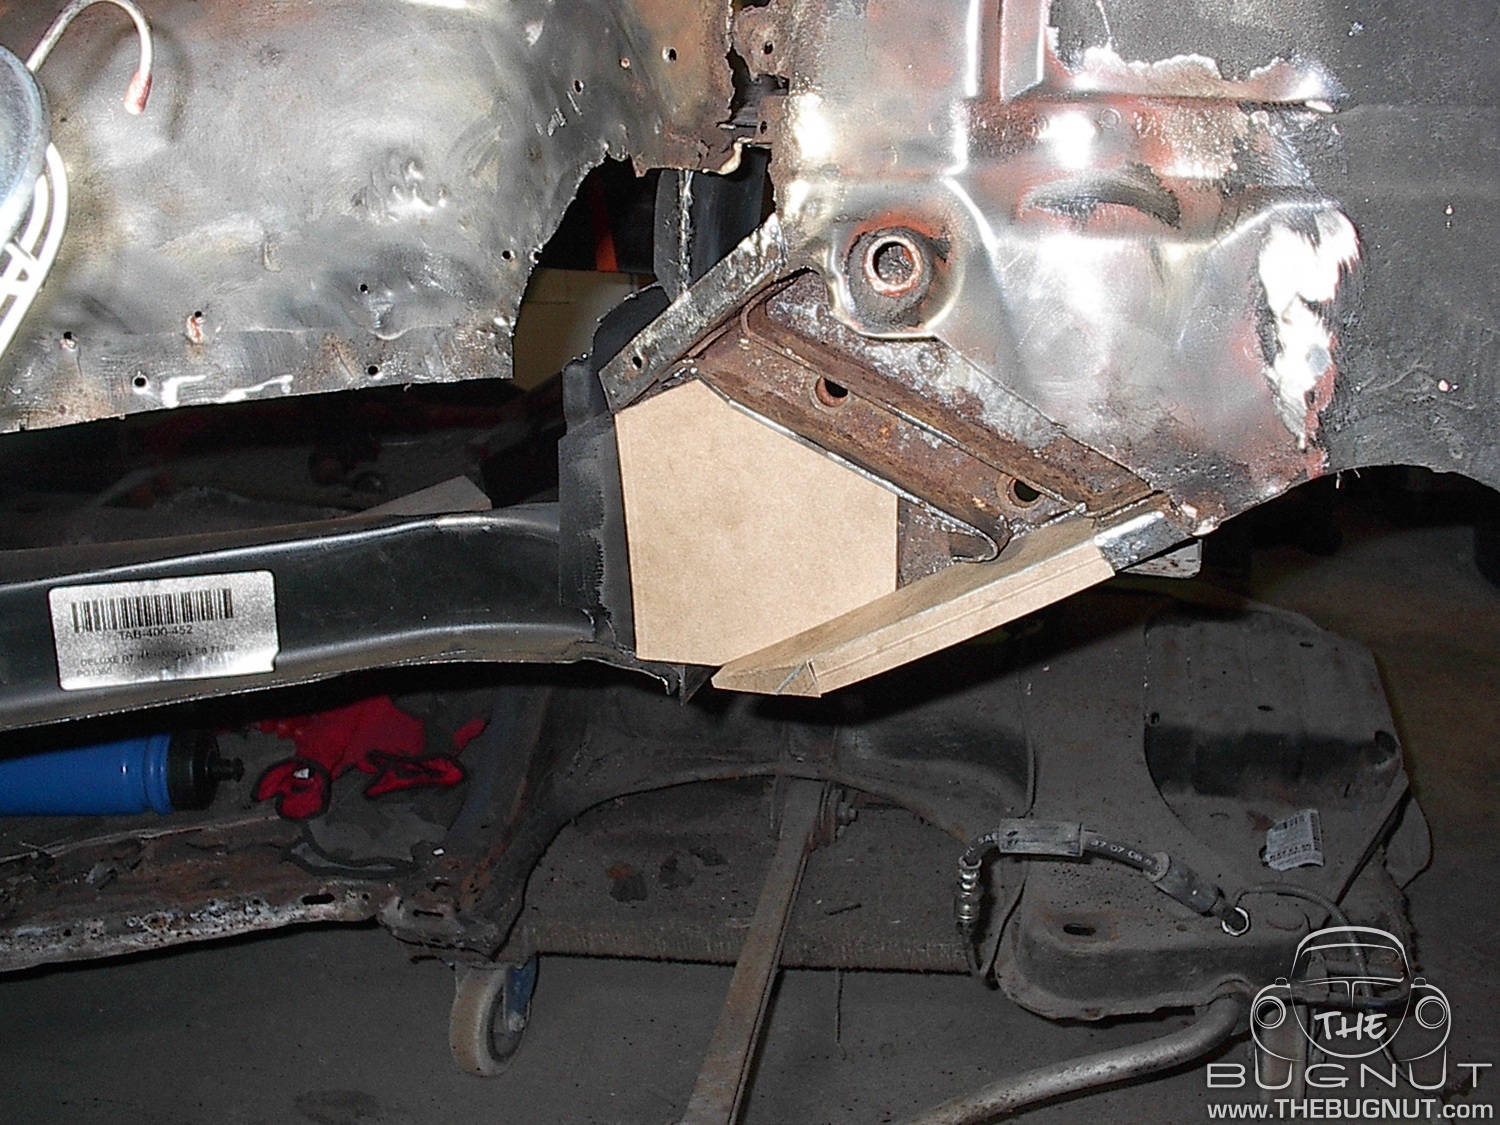
Now that I could see what I was working with I used some boxboard to mock-up the repair patches that I would need to fabricate. In this section I had to do two things. The first was a simple piece of metal that would add extra support between the firewall bracket and the front section of the Beetle. The second area was the patch that was needed to replace the missing lip of the body where the wheel well skin would attach to.
With the mock-ups looking good it was time to transfer them to some sheet metal. I actually reused of solid metal that was removed from another area on the car. It saves me a few bucks, and it was slightly thicker than my new sheet metal.
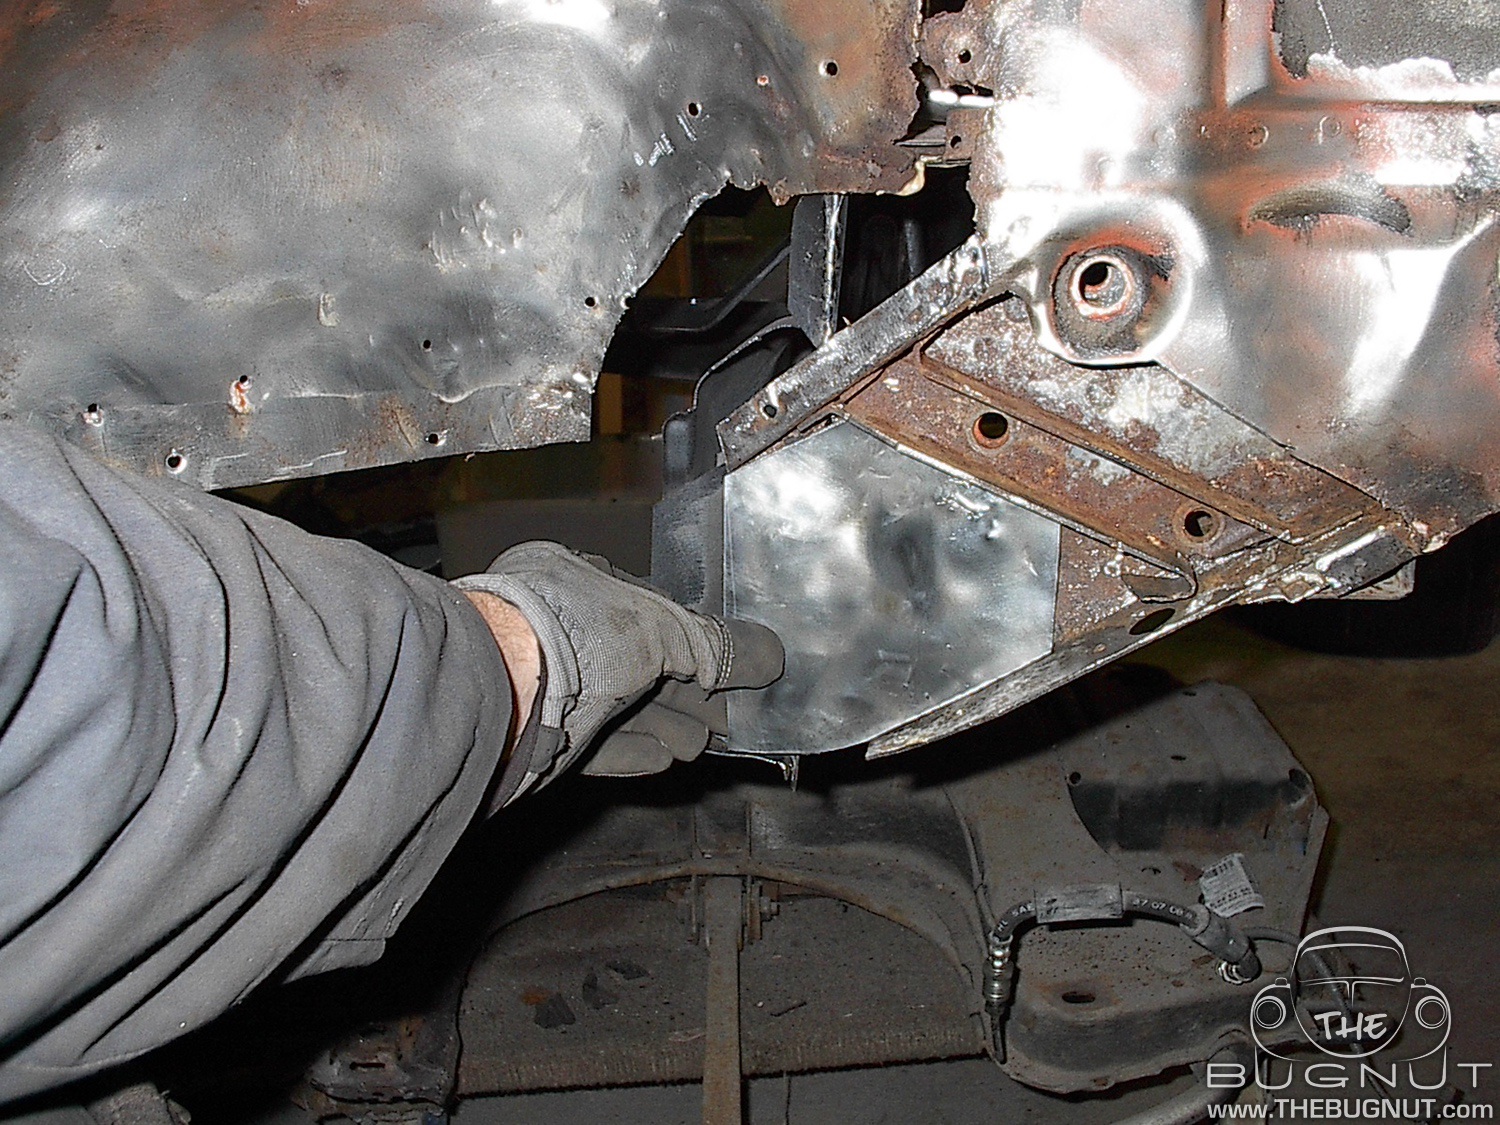
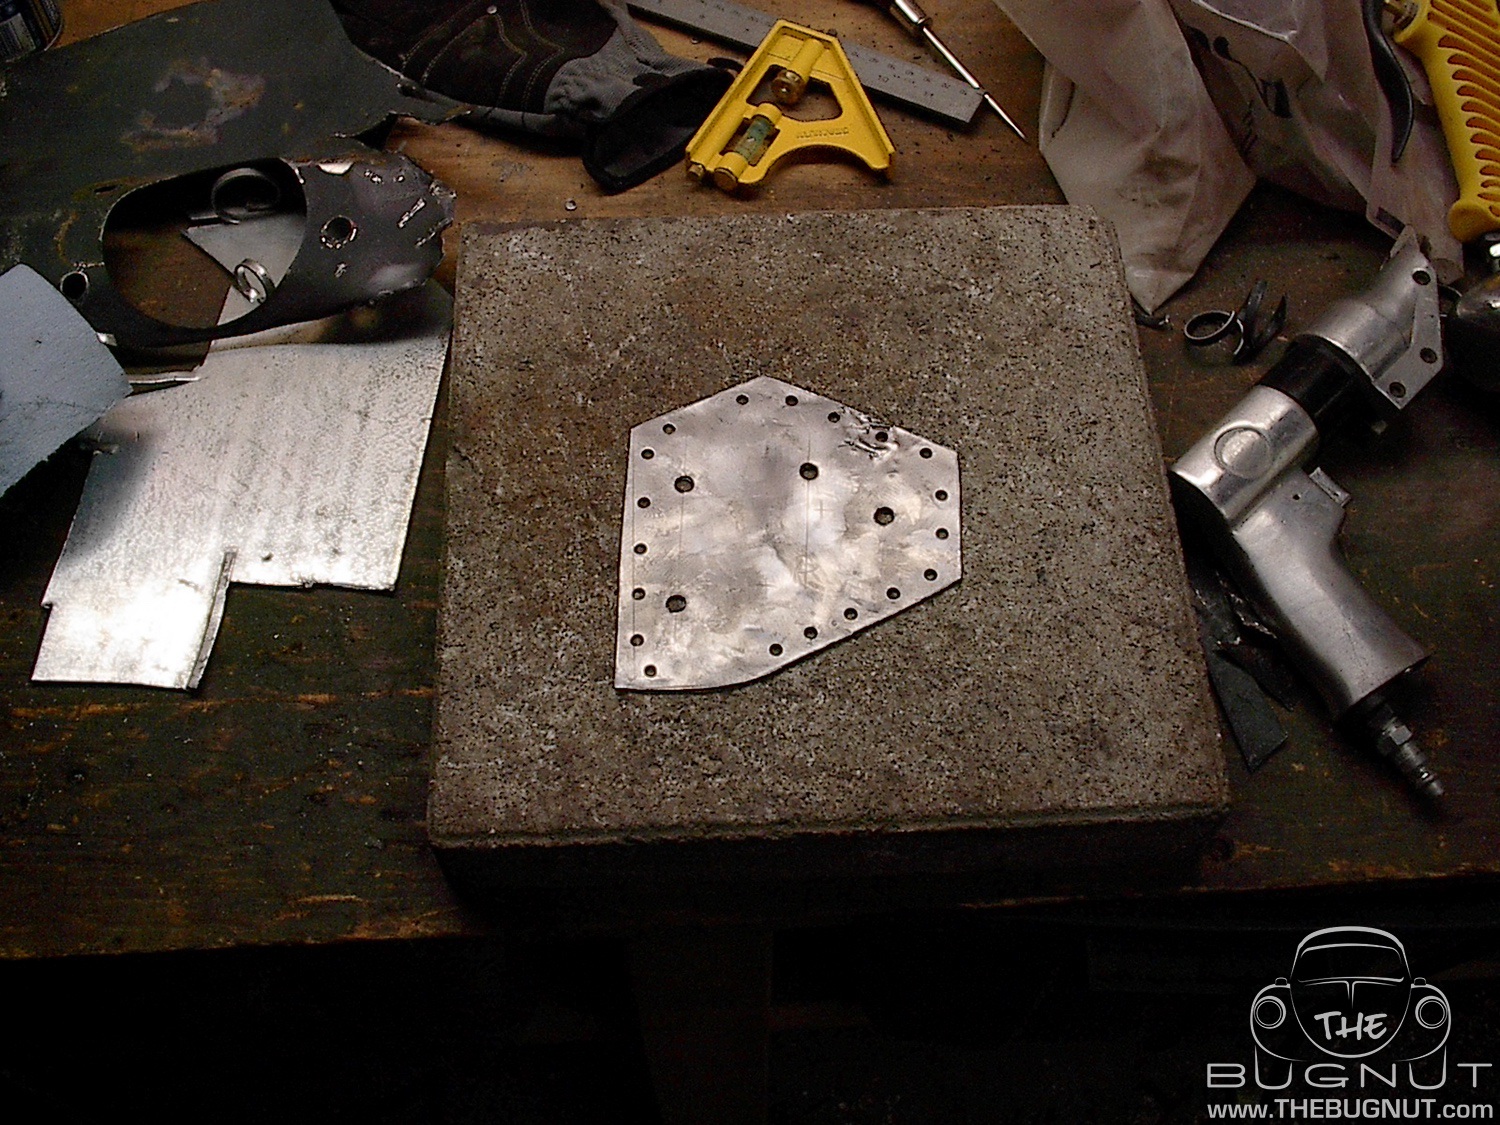
As you can see from the images, Everything was cut perfectly and tested for fit. I then punched some holes in the patches so I could puddle weld them in place. When I was happy with everything I busted out the welder and stuck it all together. Everything in this area was extremely solid. Things were starting to make more sense and I could now see how the outside skin was going to attach. For now I just cleaned up the welds and covered everything with a layer of black paint to protect it.
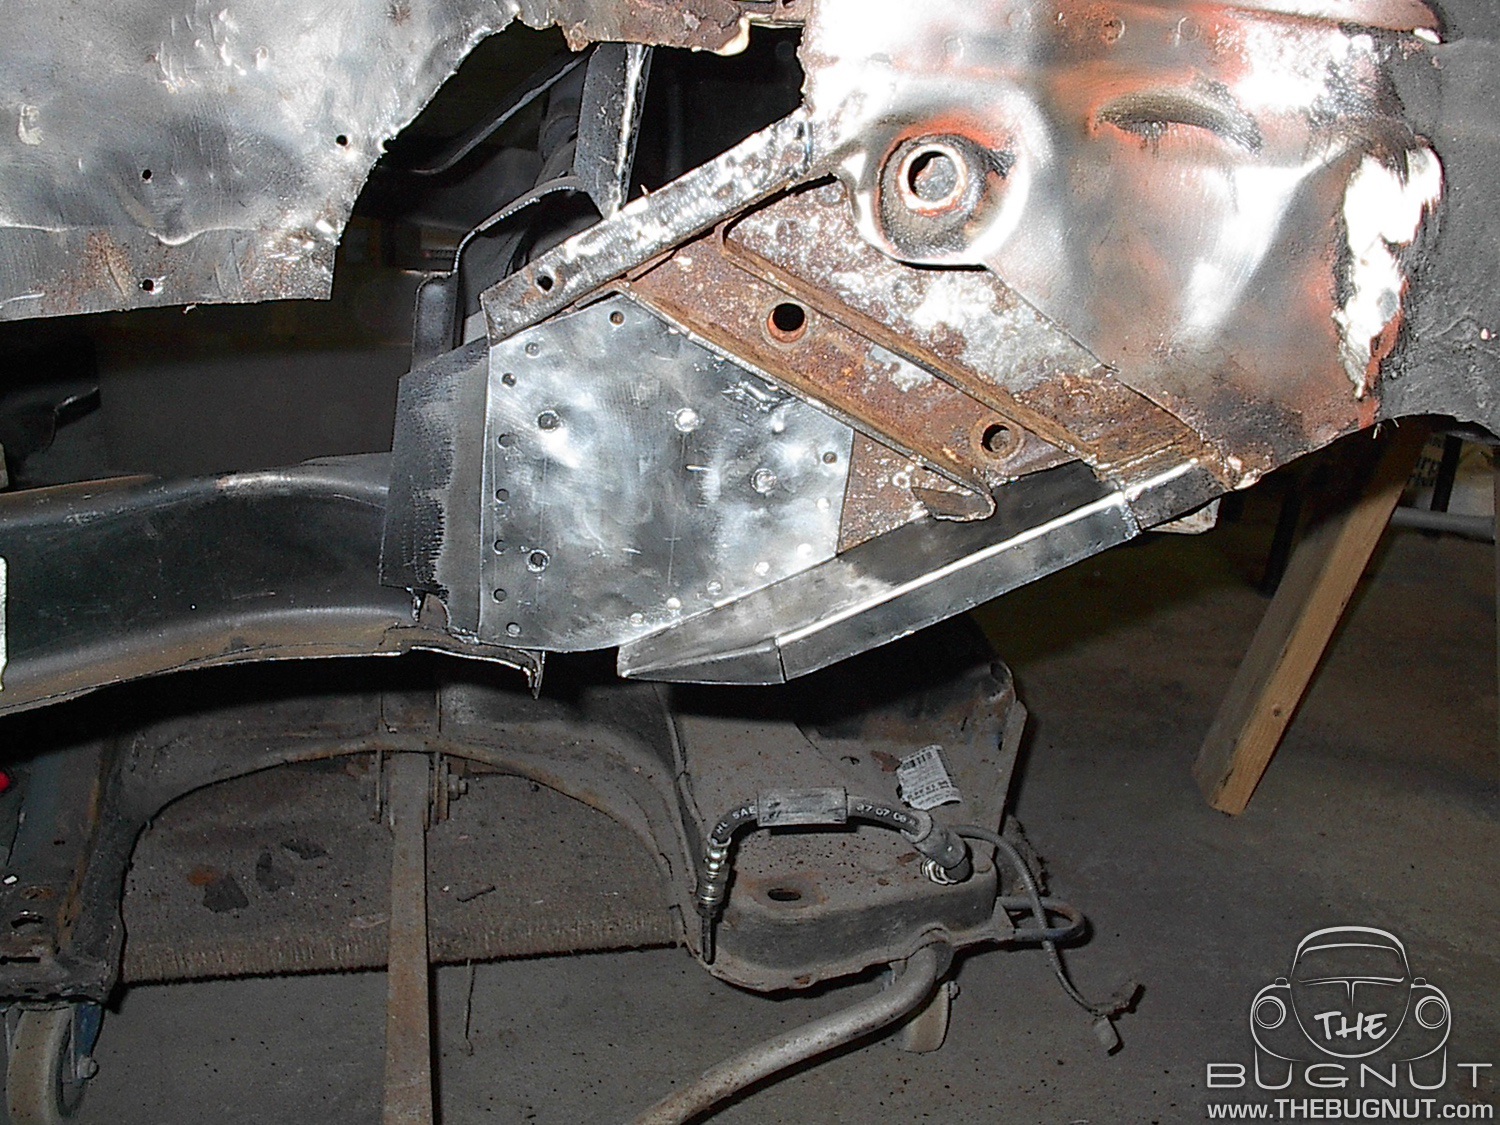
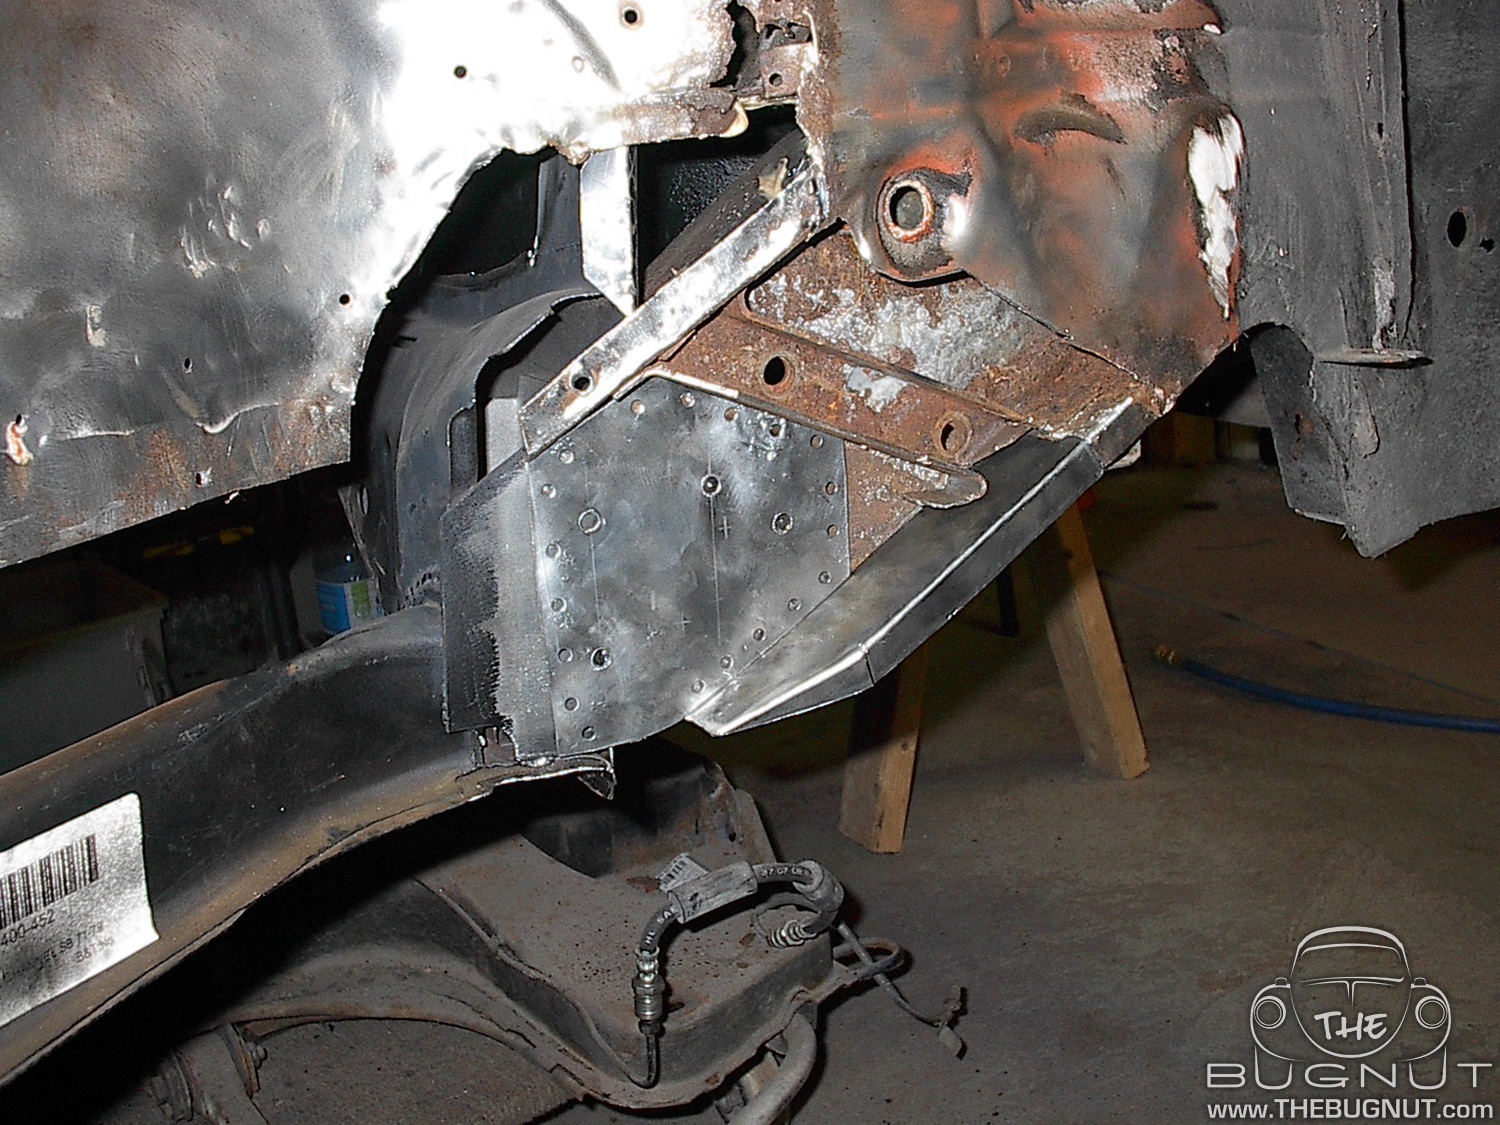
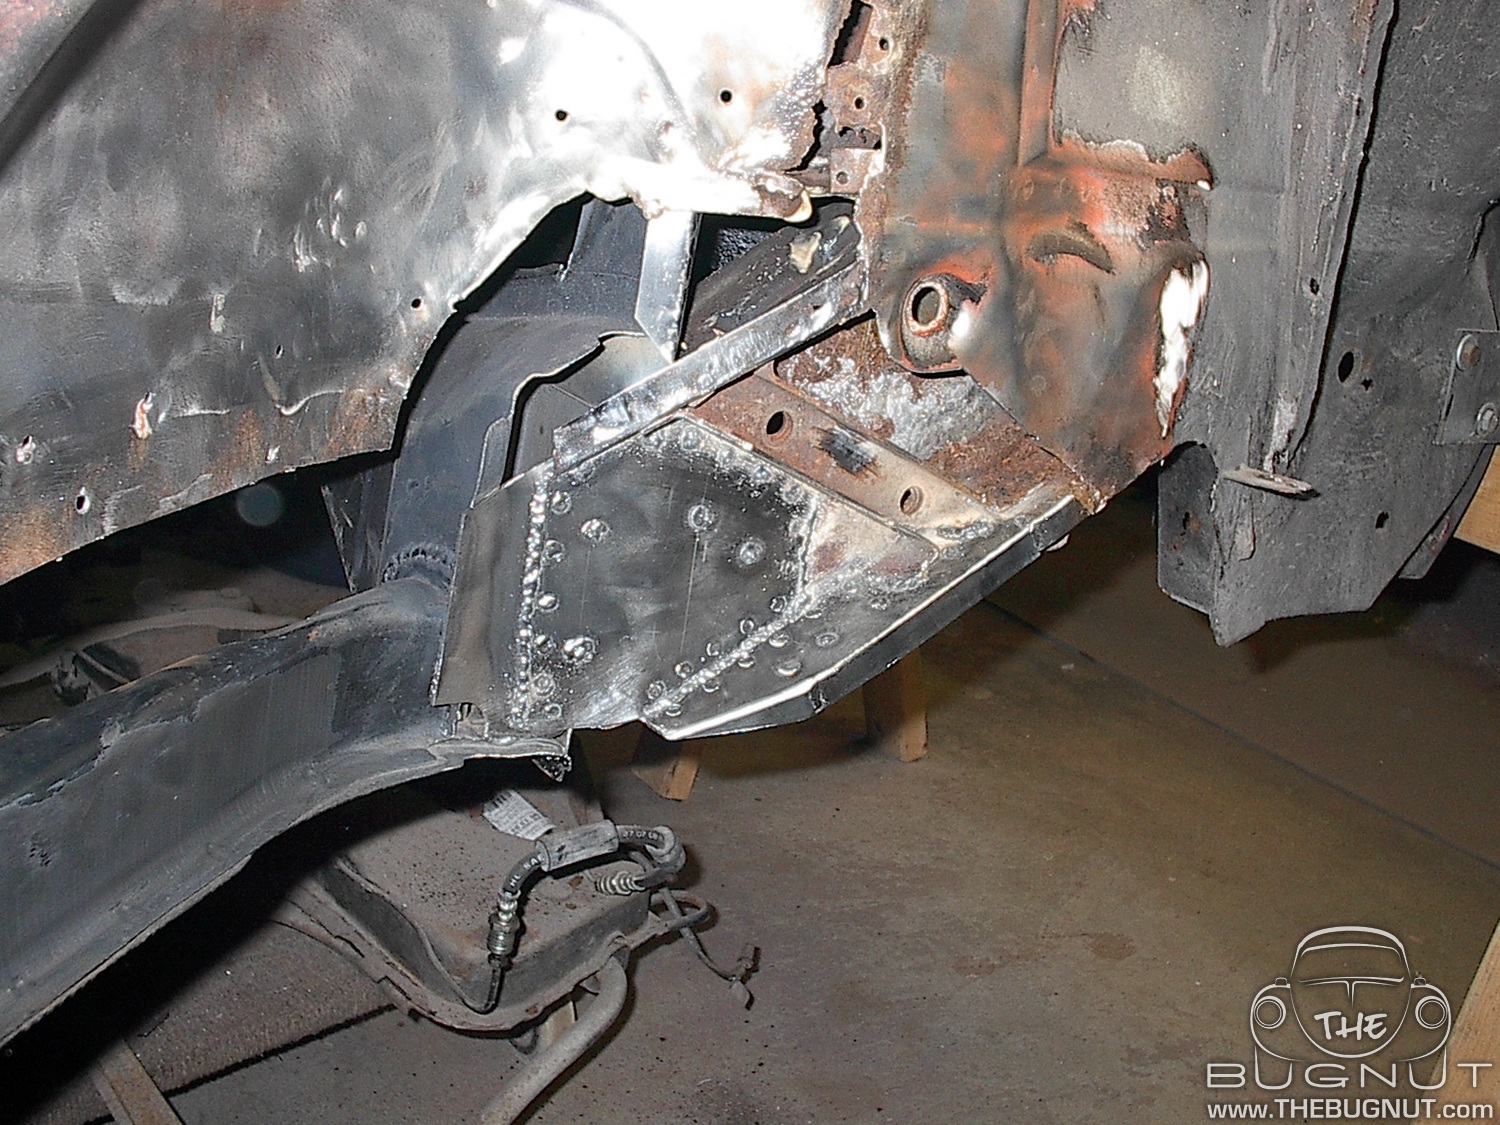
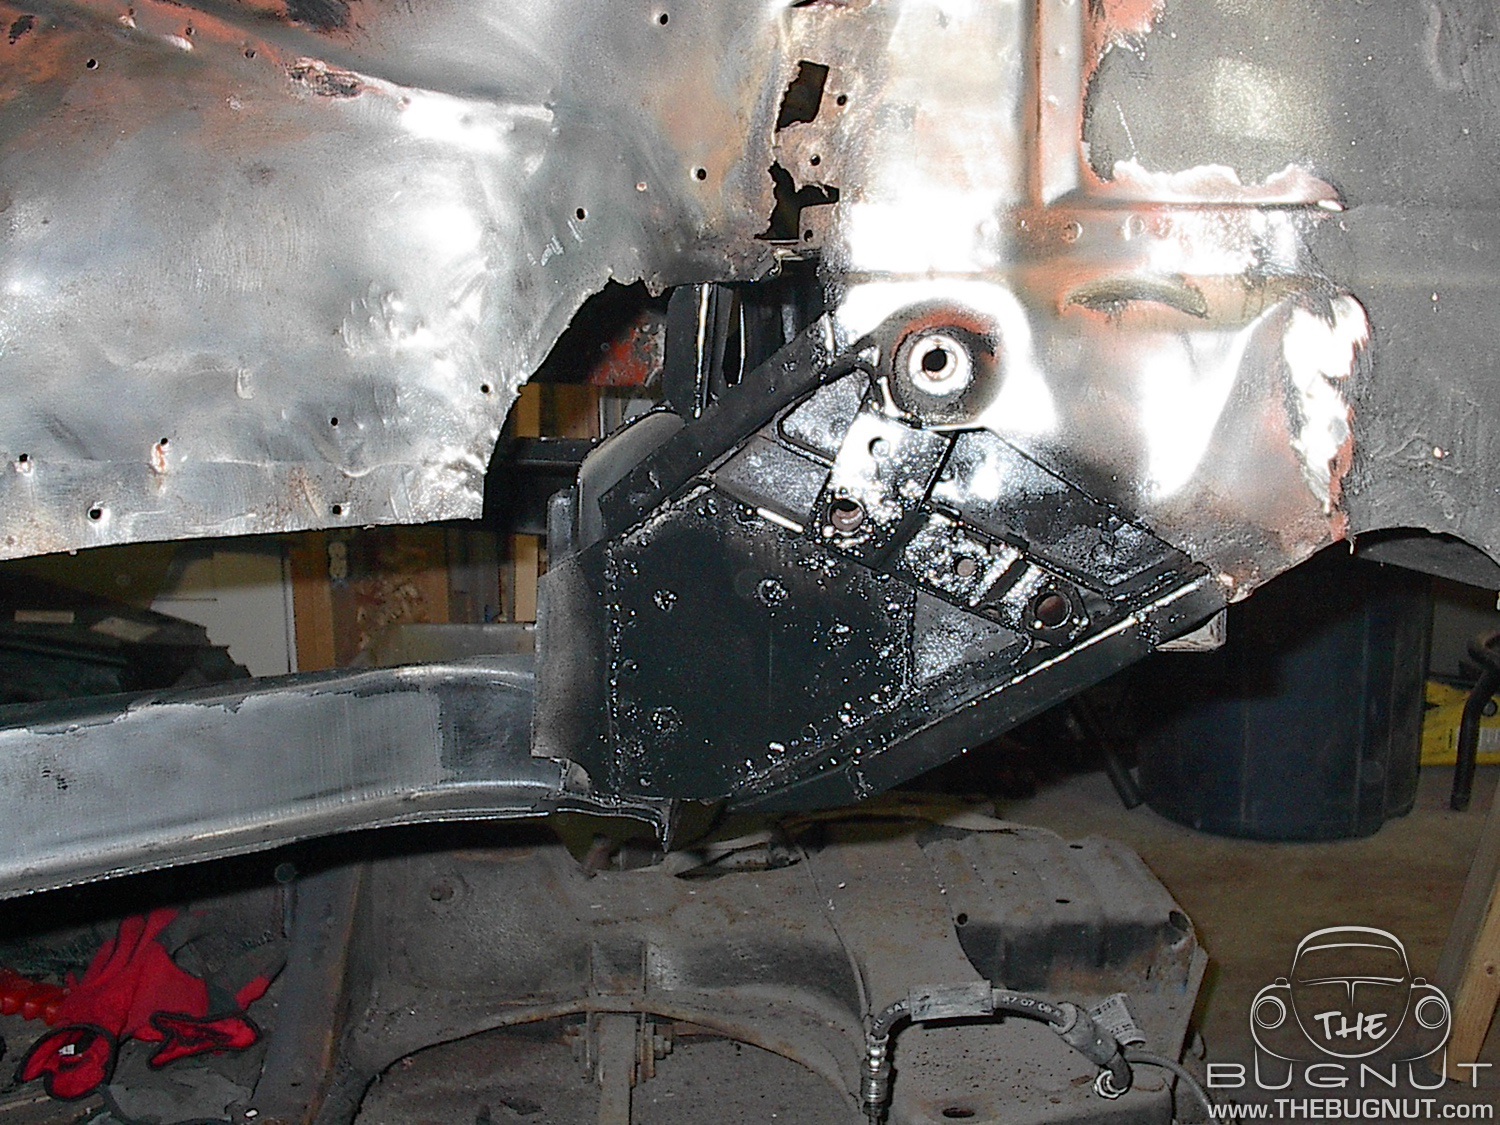
The next step would be to cover this section with the inner wheel well skin. All of my hard work will never be seen again, but I'm ok with that.
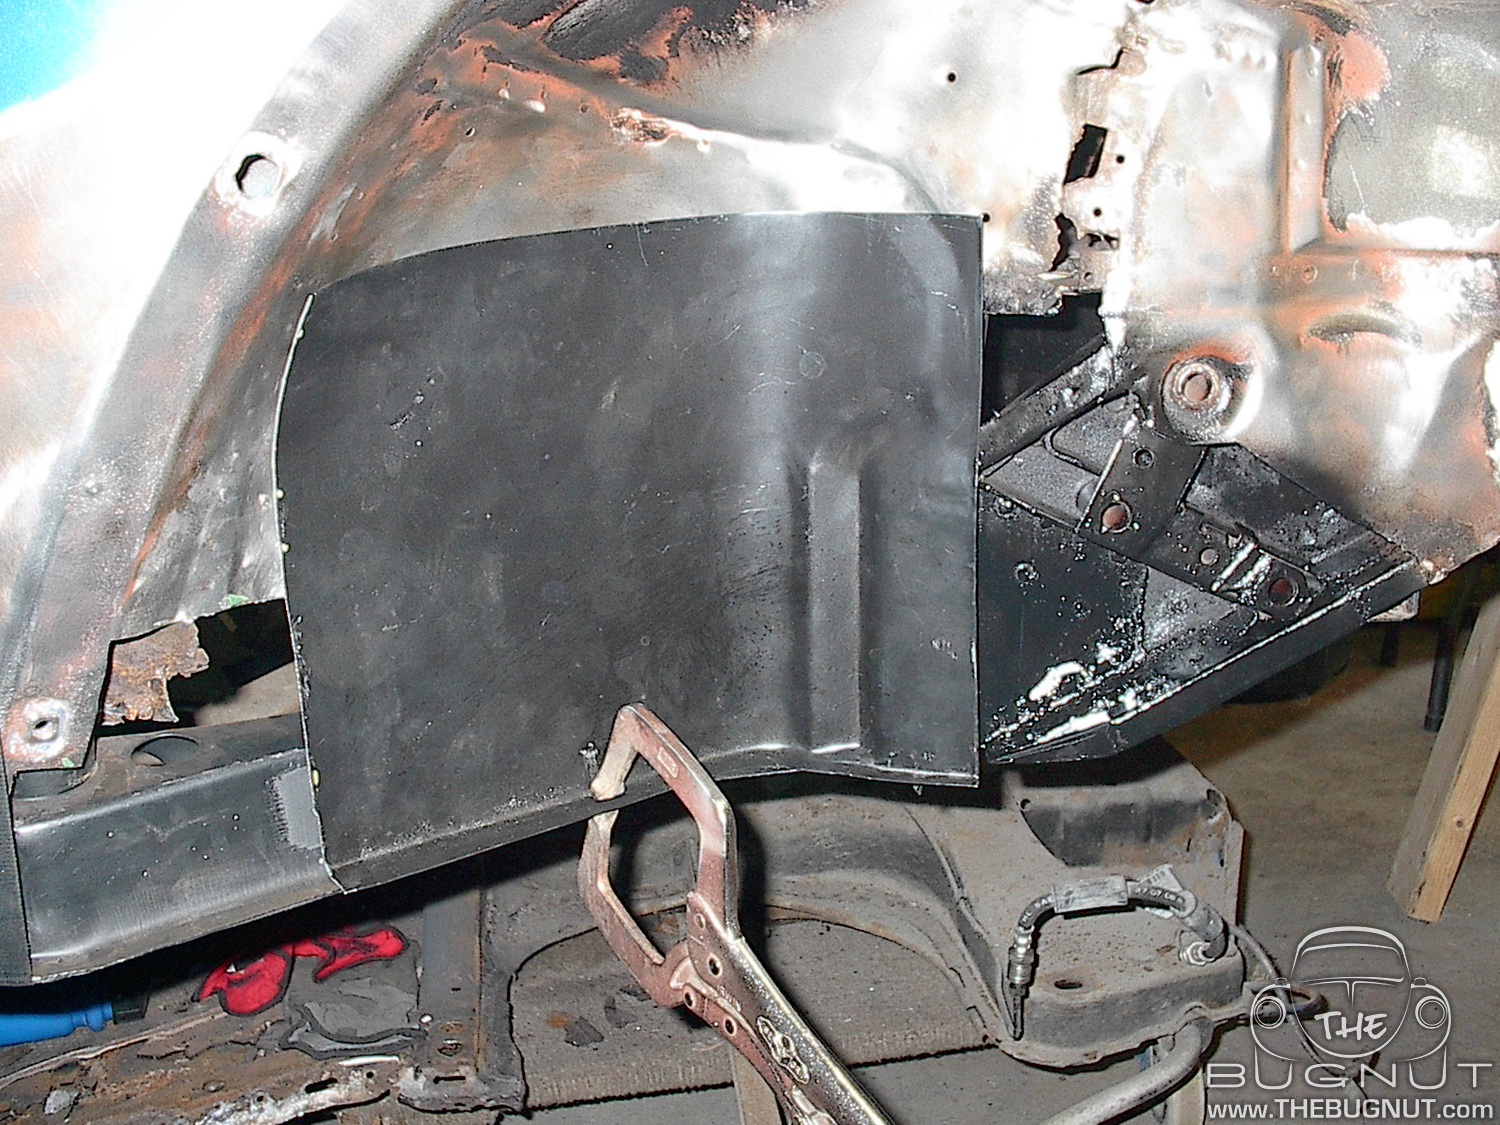
Thanks for following the build. Please leave your feedback, questions and comments below.
THEBUGNUT
Project #Super71 - One Rusty Frame Head
Project #Super71 - Floor Pans & Tunnel 1.0
Project #Super71 - Goodbye Gas Heater Hole
Get your 3-Pack of 4"x6" die-cut vinyl stickers for only $6.00. We will ship anywhere in Canada or USA for FREE!


