

News & BLOG
Project #Super71 - Wheel Well Skin & Strut
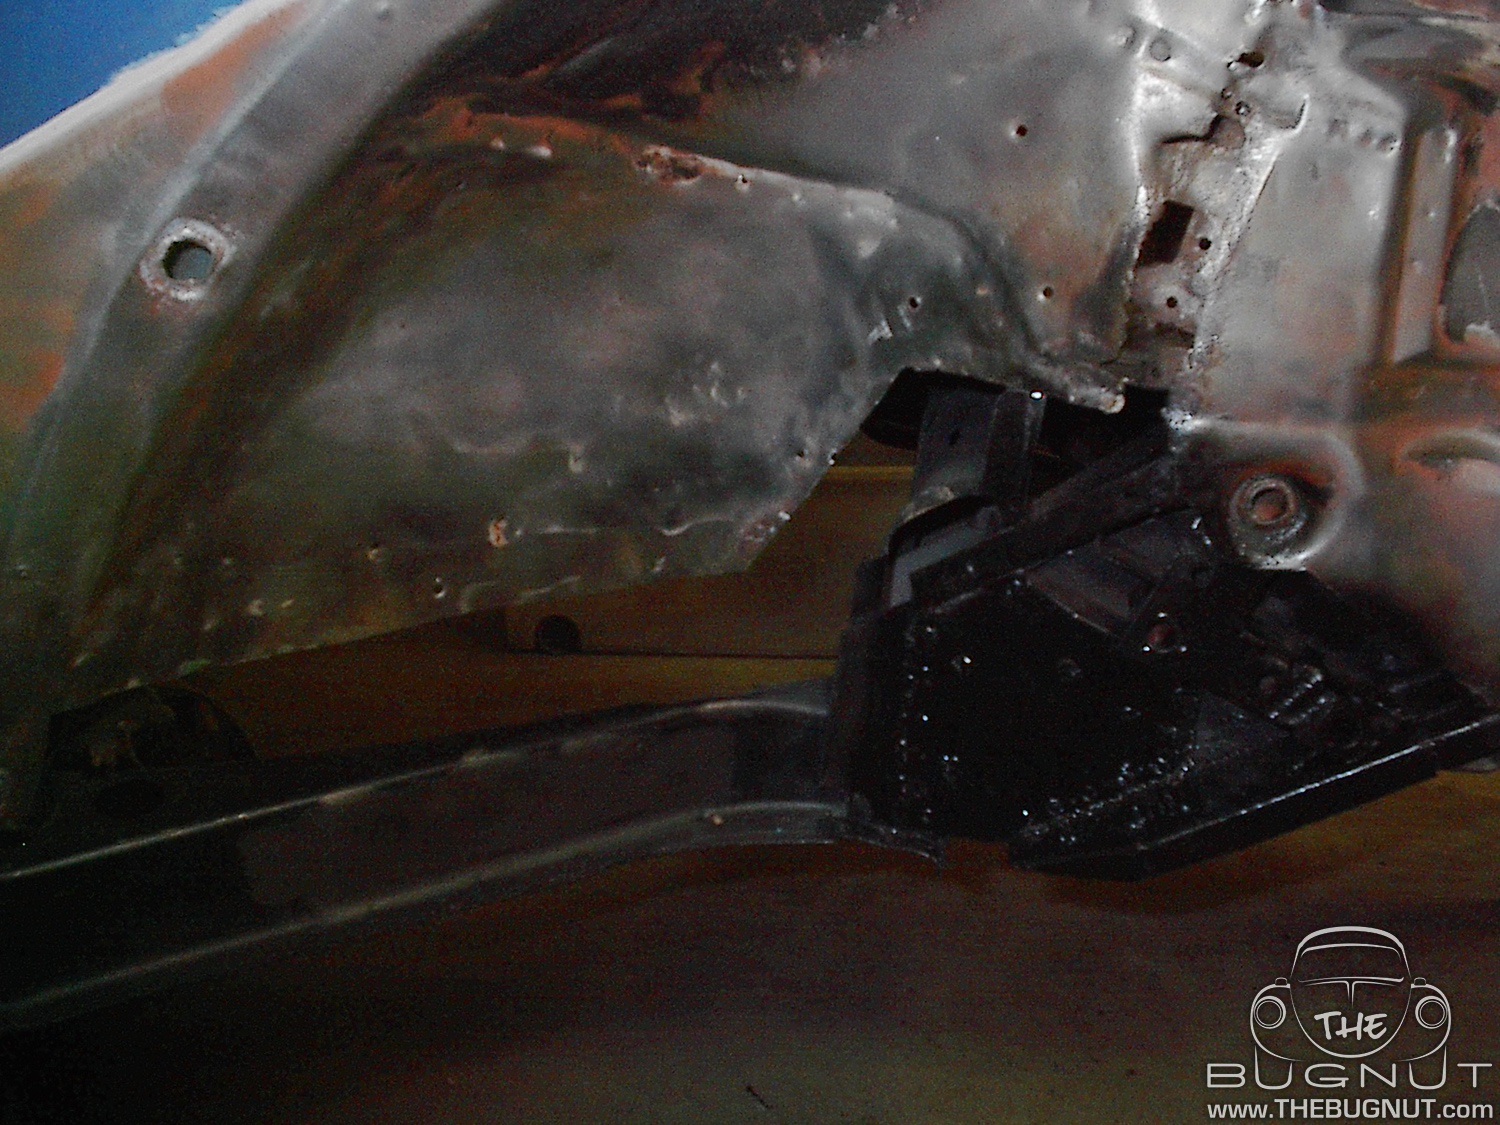
Now that the front right section of this wheel well is nicely welded together and solid as can be, it's time to cover up all our hard work.
It's really not that sad however. It's kind of exciting. I always like getting to a finishing point on any section of the Beetle. This bizarre area of the Super Beetle has eaten up a lot of time. It will be nice to cover things up and move on to a new section.
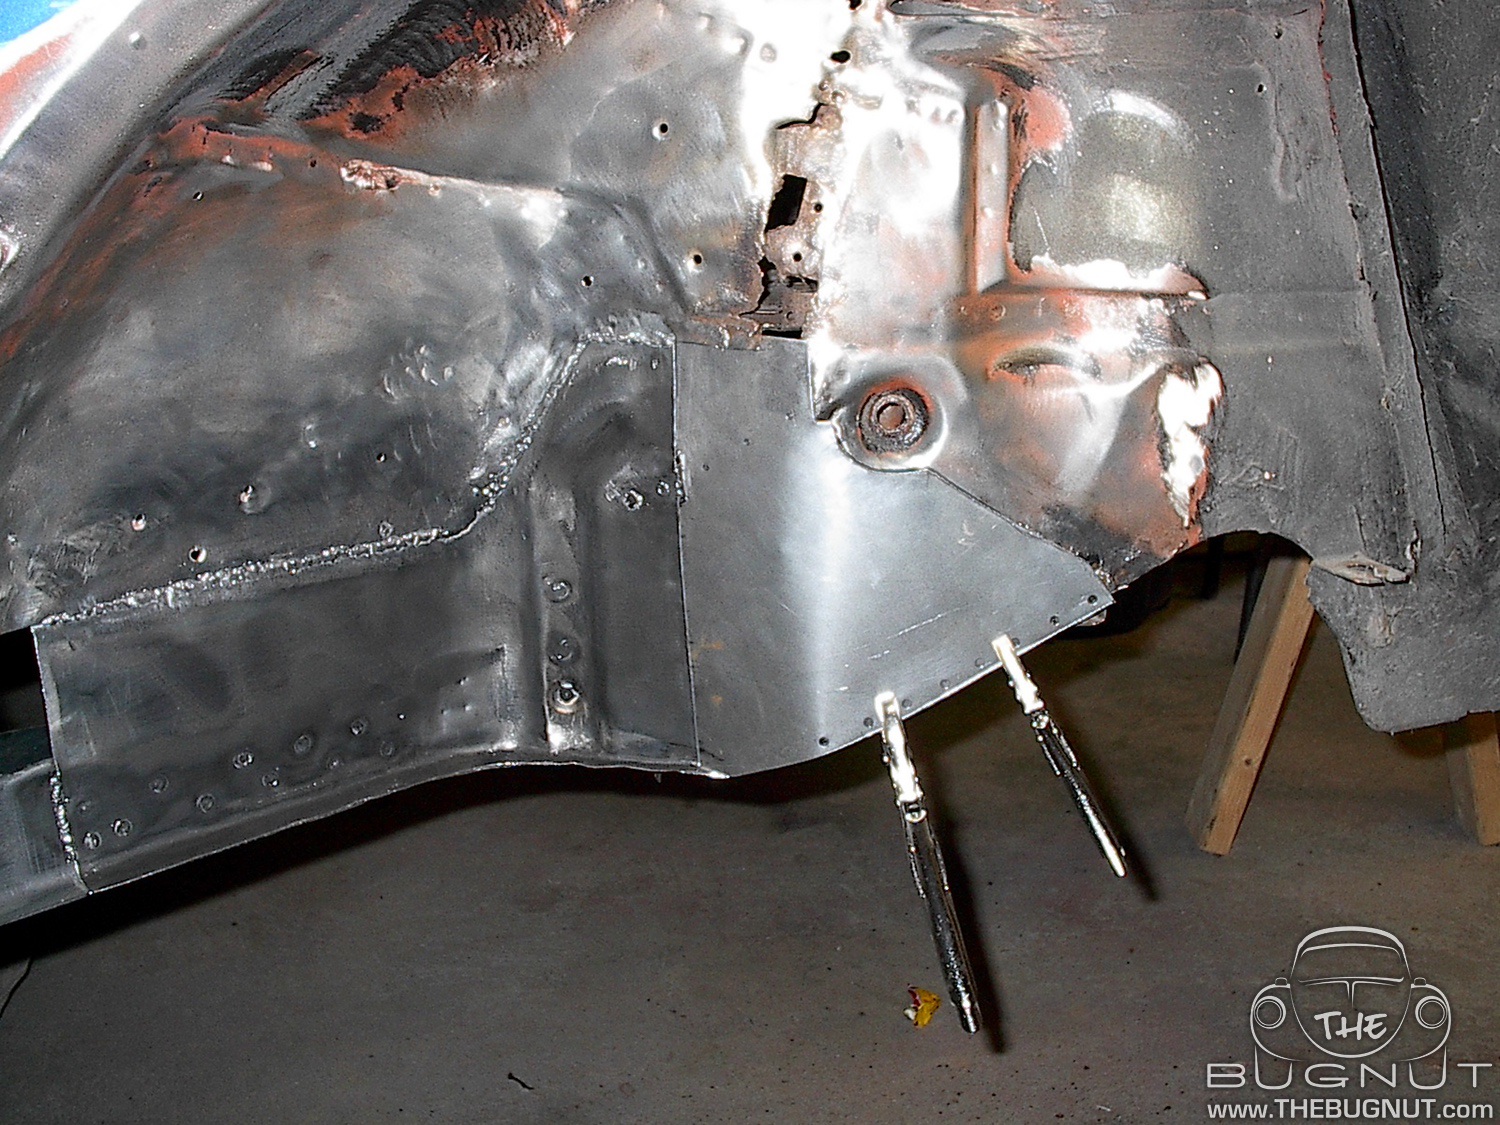
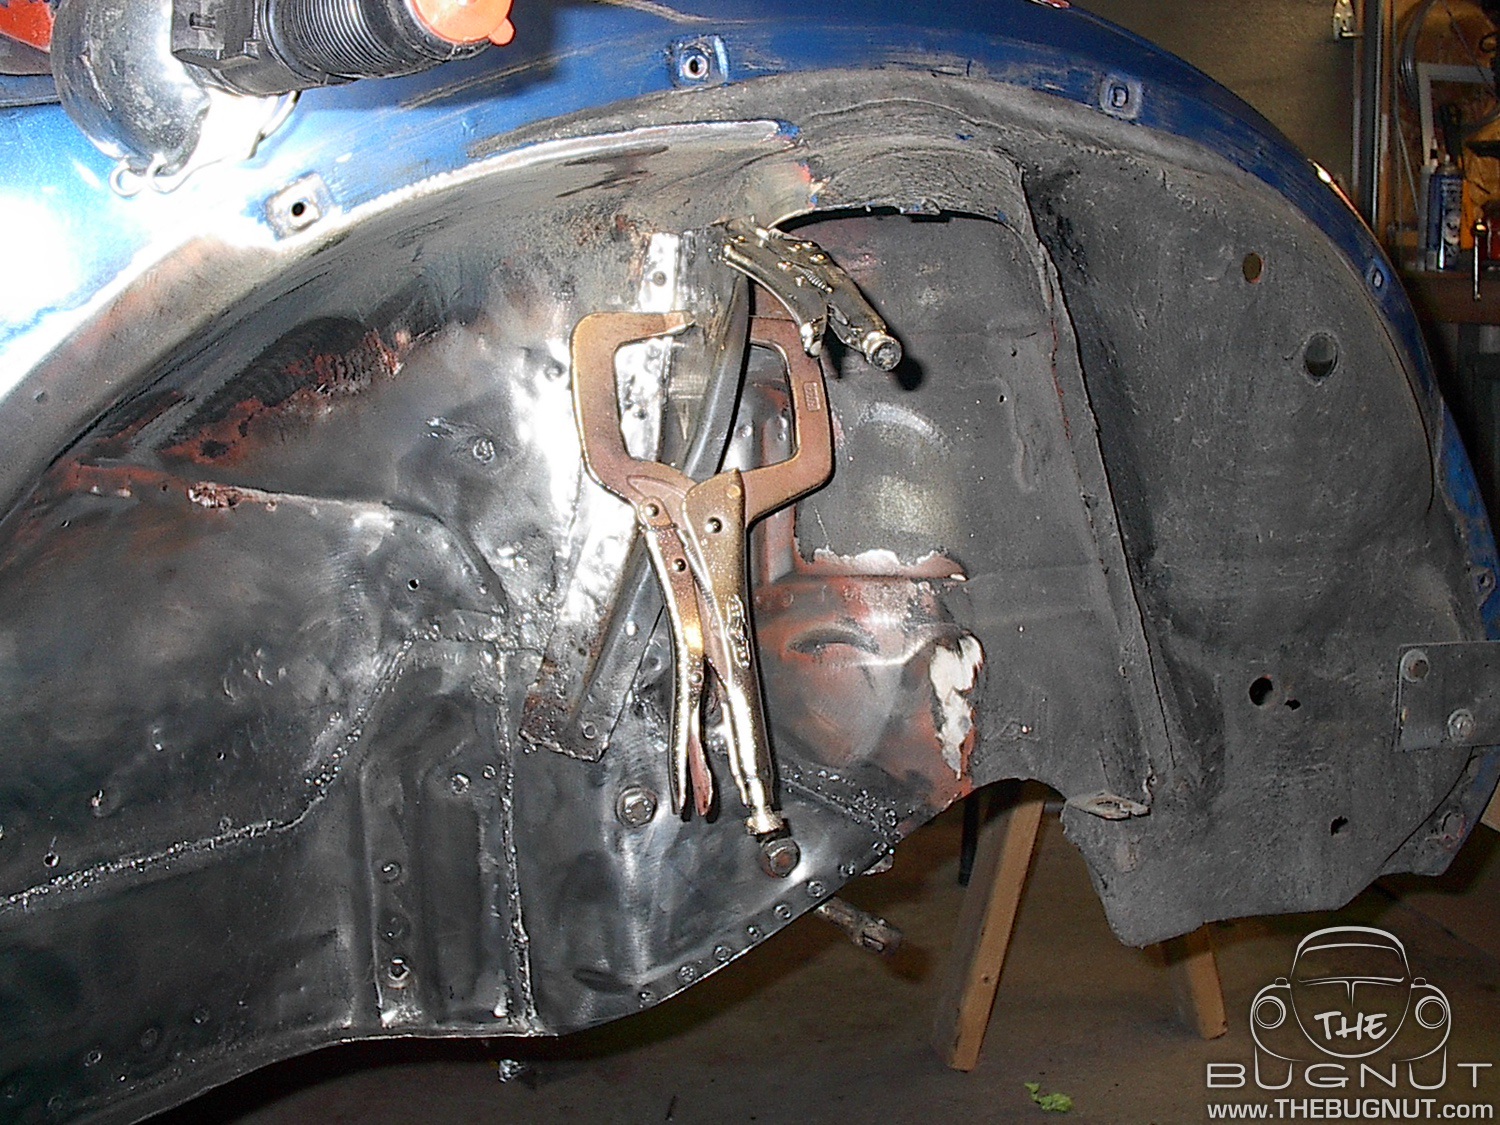
I started with a basic replacement panel from CIP1.ca but I would have to make some alterations to this piece of sheet metal. A few things had to happen before I could start welding things in place. I had to first trim the metal on the Bug that was still good so I had nice material and straight lines to weld to. The next thing was to remove the section of the panel that went out towards the bottom of the door post (I will repair all that later). Finally, I had to measure and trim the replacement panel to fit the Beetle. I always try and remove metal from the replacement panels instead of the car when doing these repairs. I figure it's best to leave as much of the original VW in place, plus it's easy to replace a panel it things to sideways.
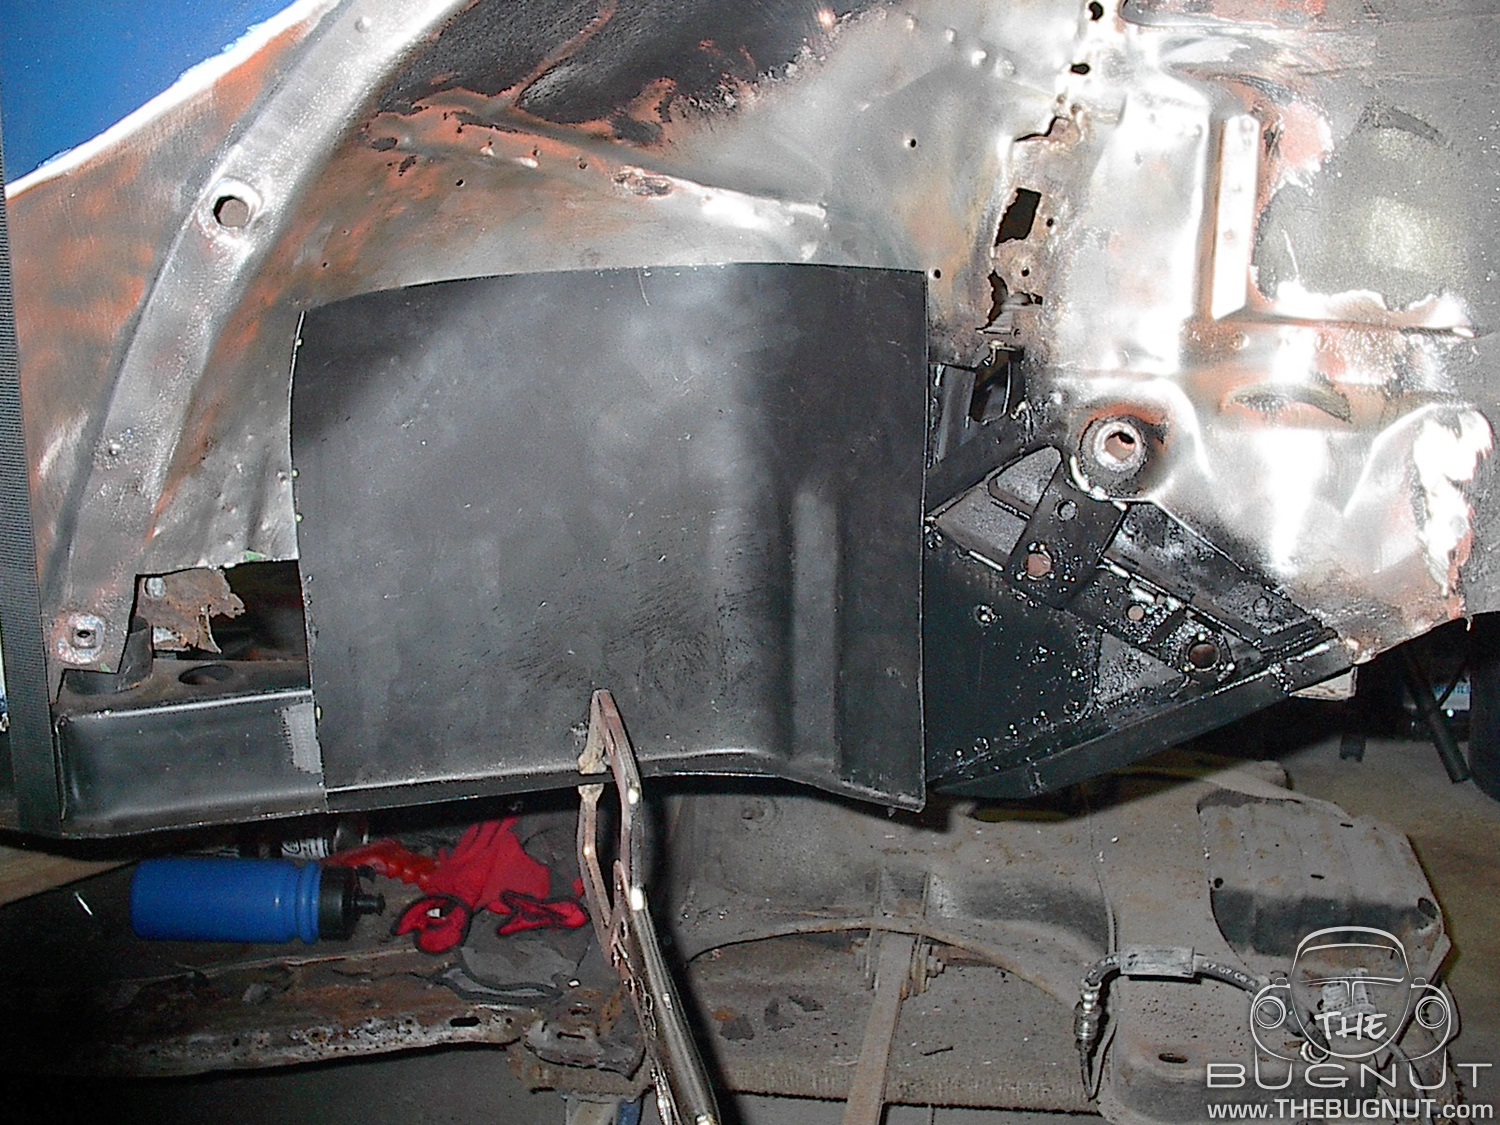
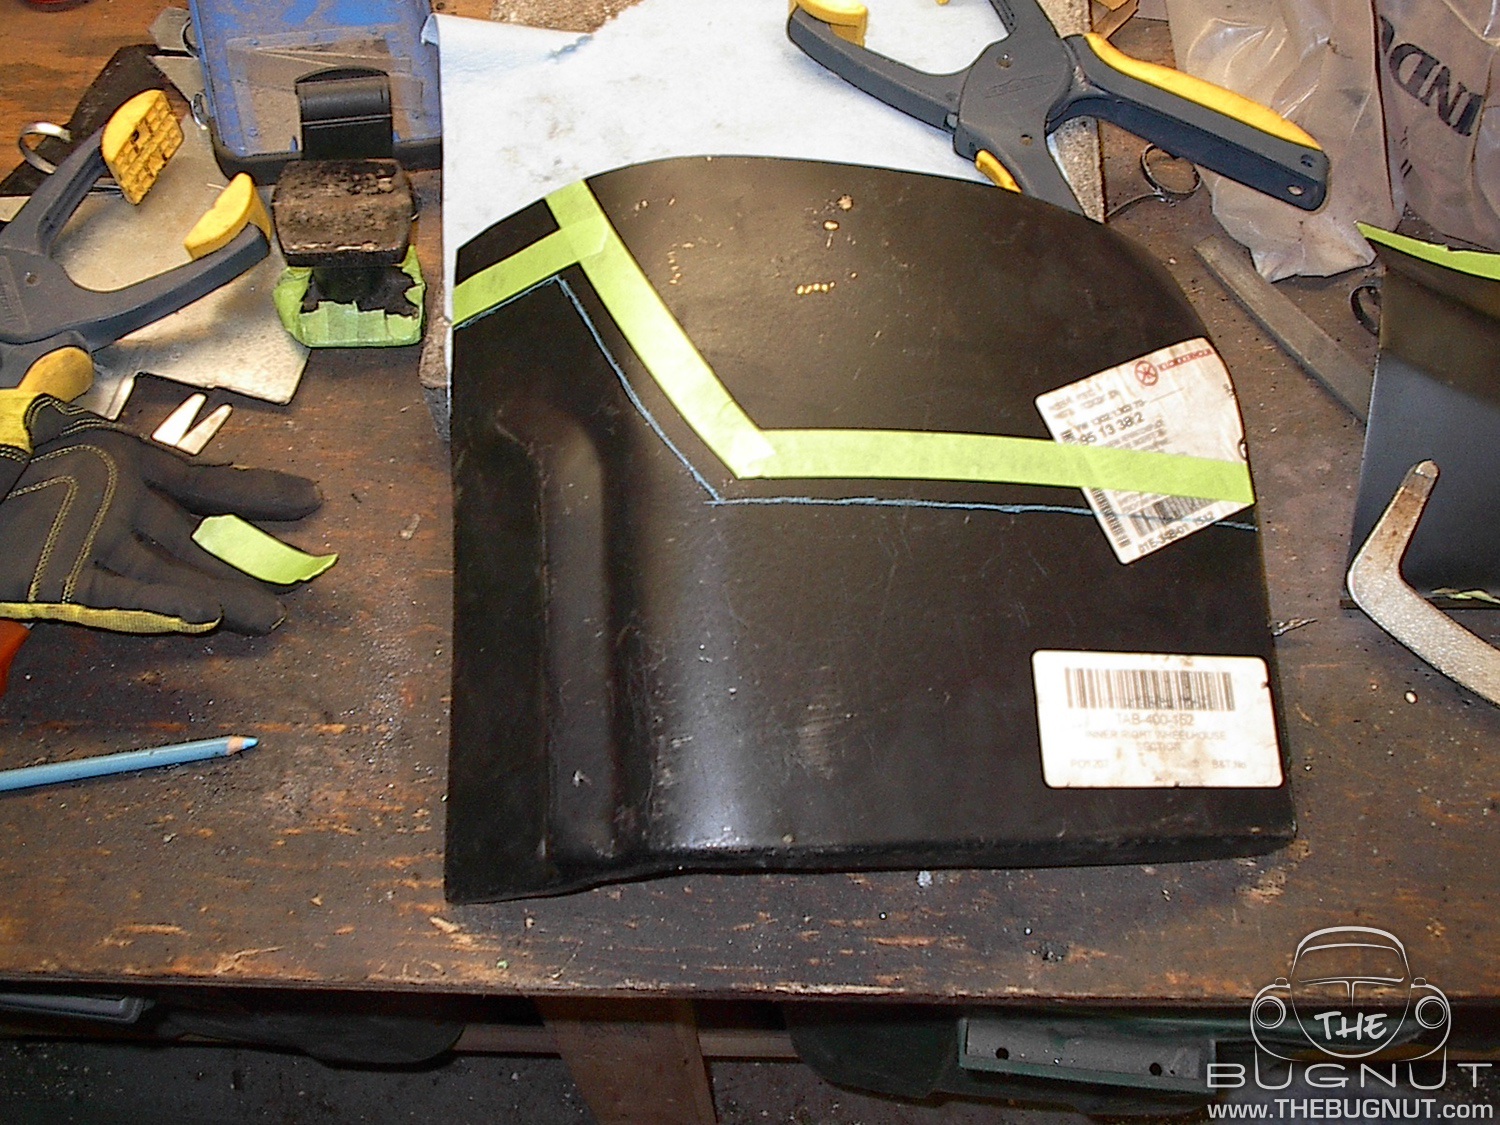
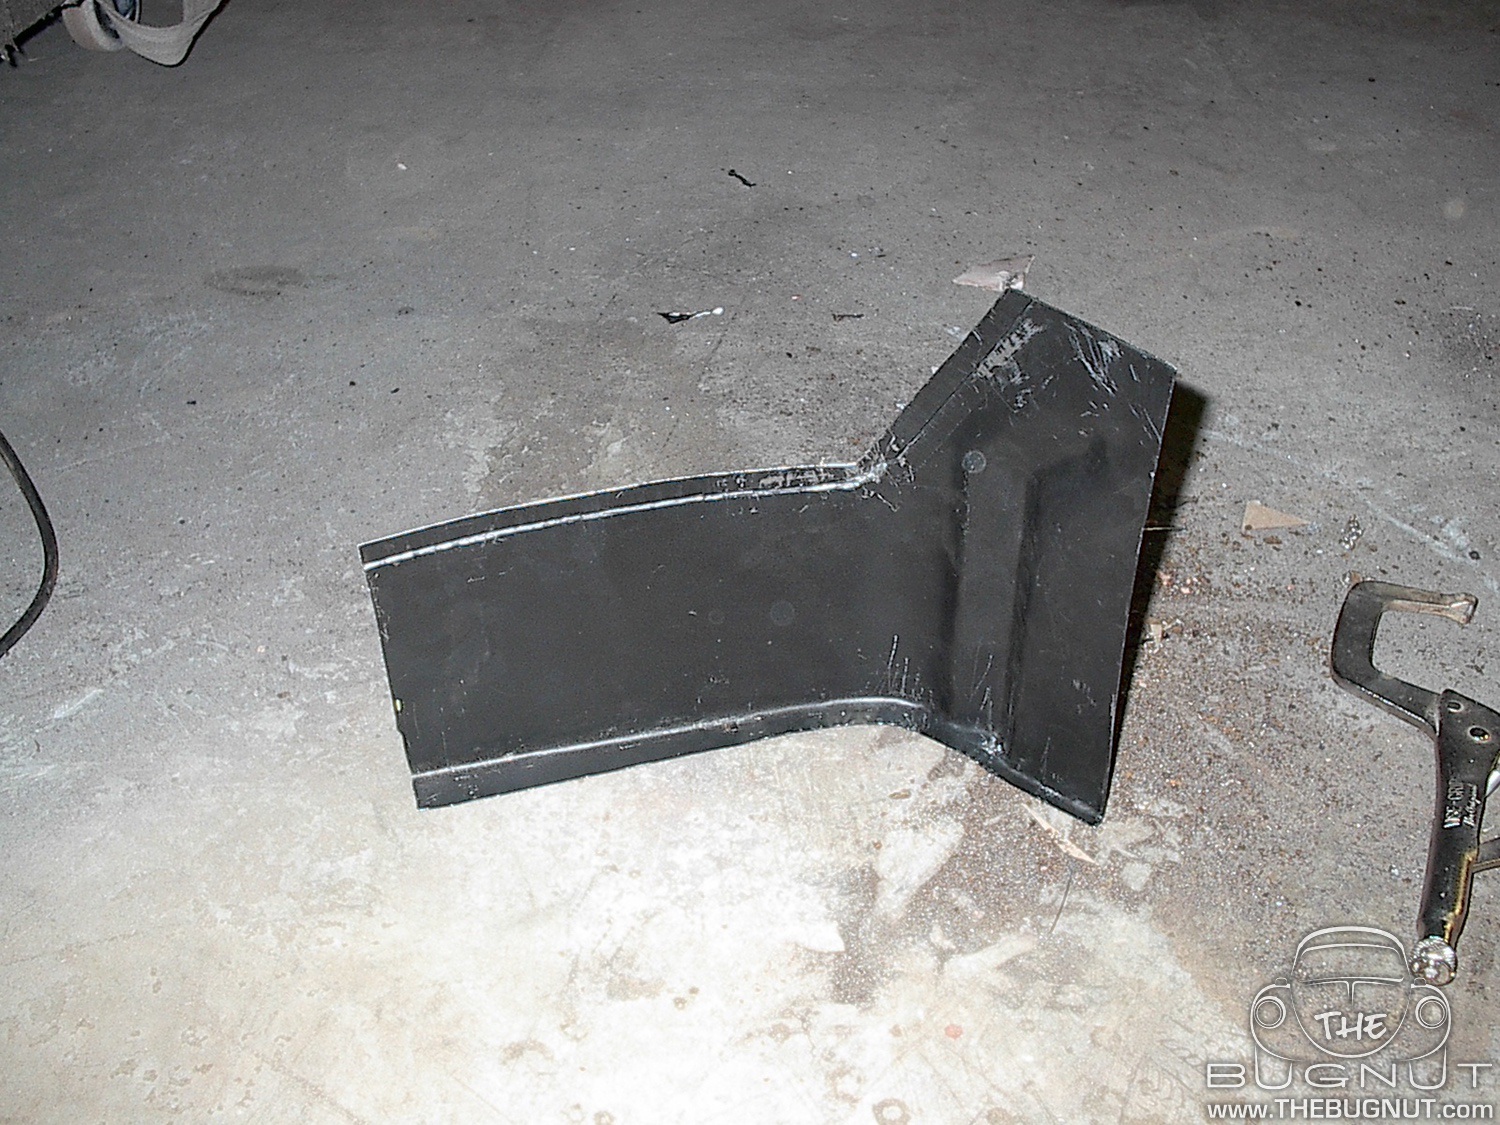
This repair was going to be done in several sections. First I would trim the inner wheel well replacement panel to fit and weld it in place when I was happy. I was able to mark the cut lines from the inside of the Beetle. This made things a lot easier and more accurate than constantly measuring. Once in place I could move on to the second section.
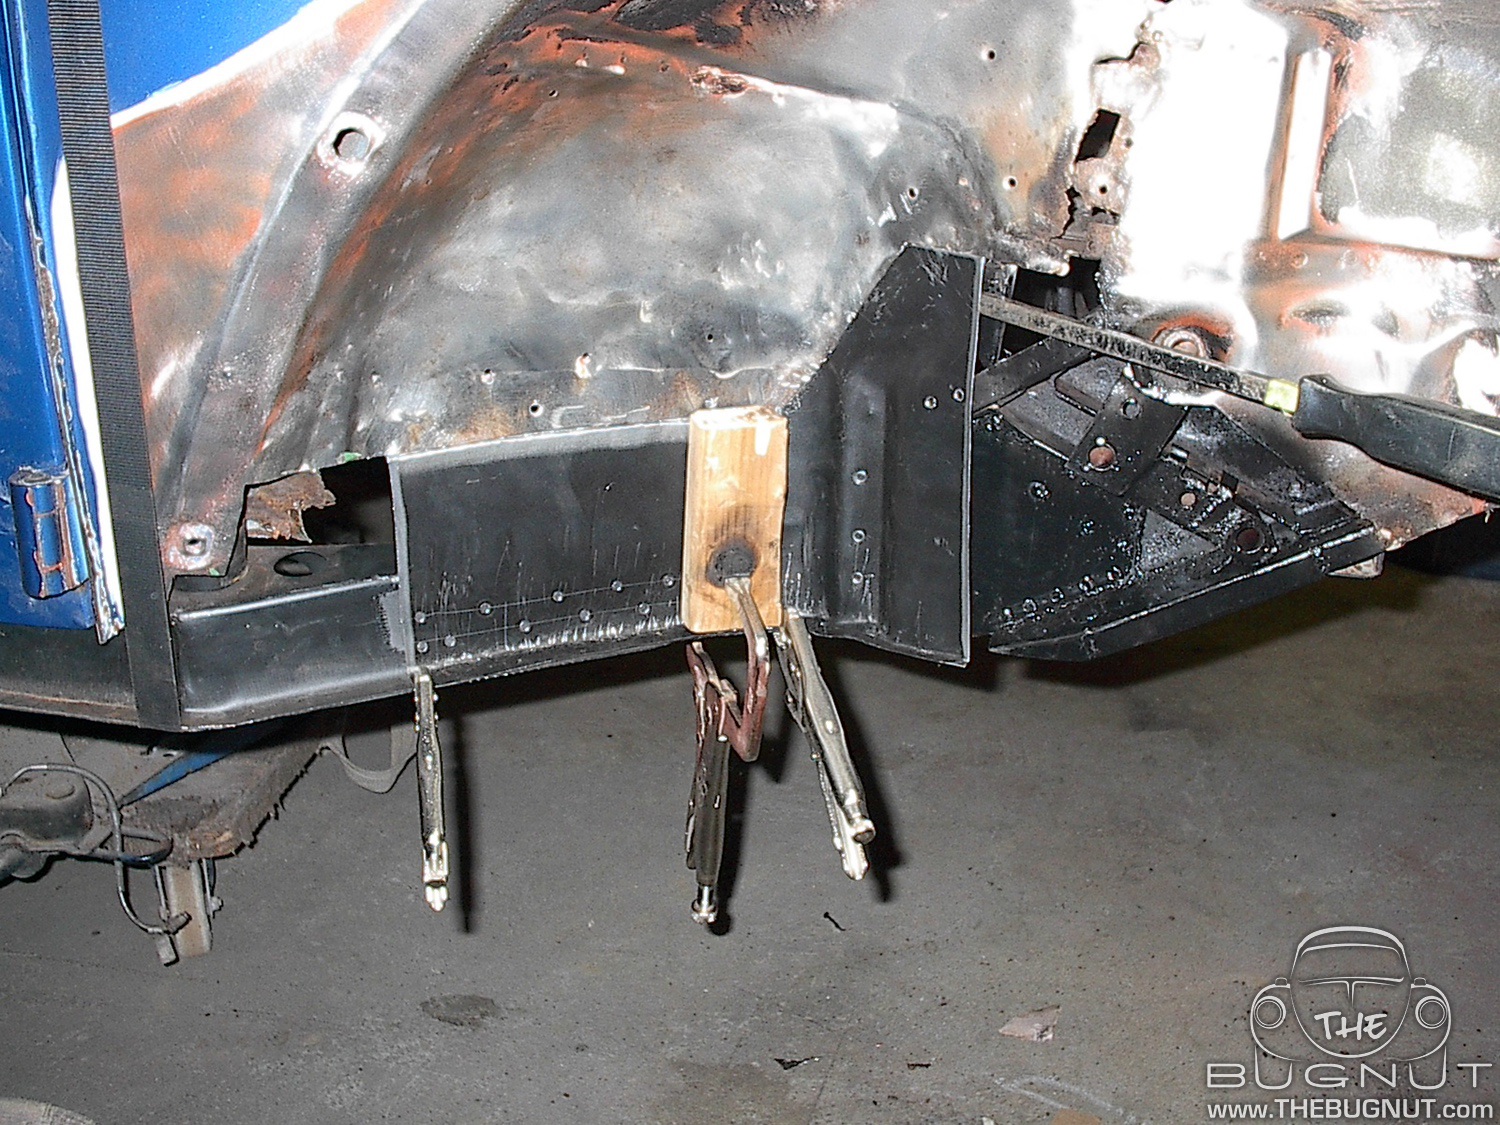
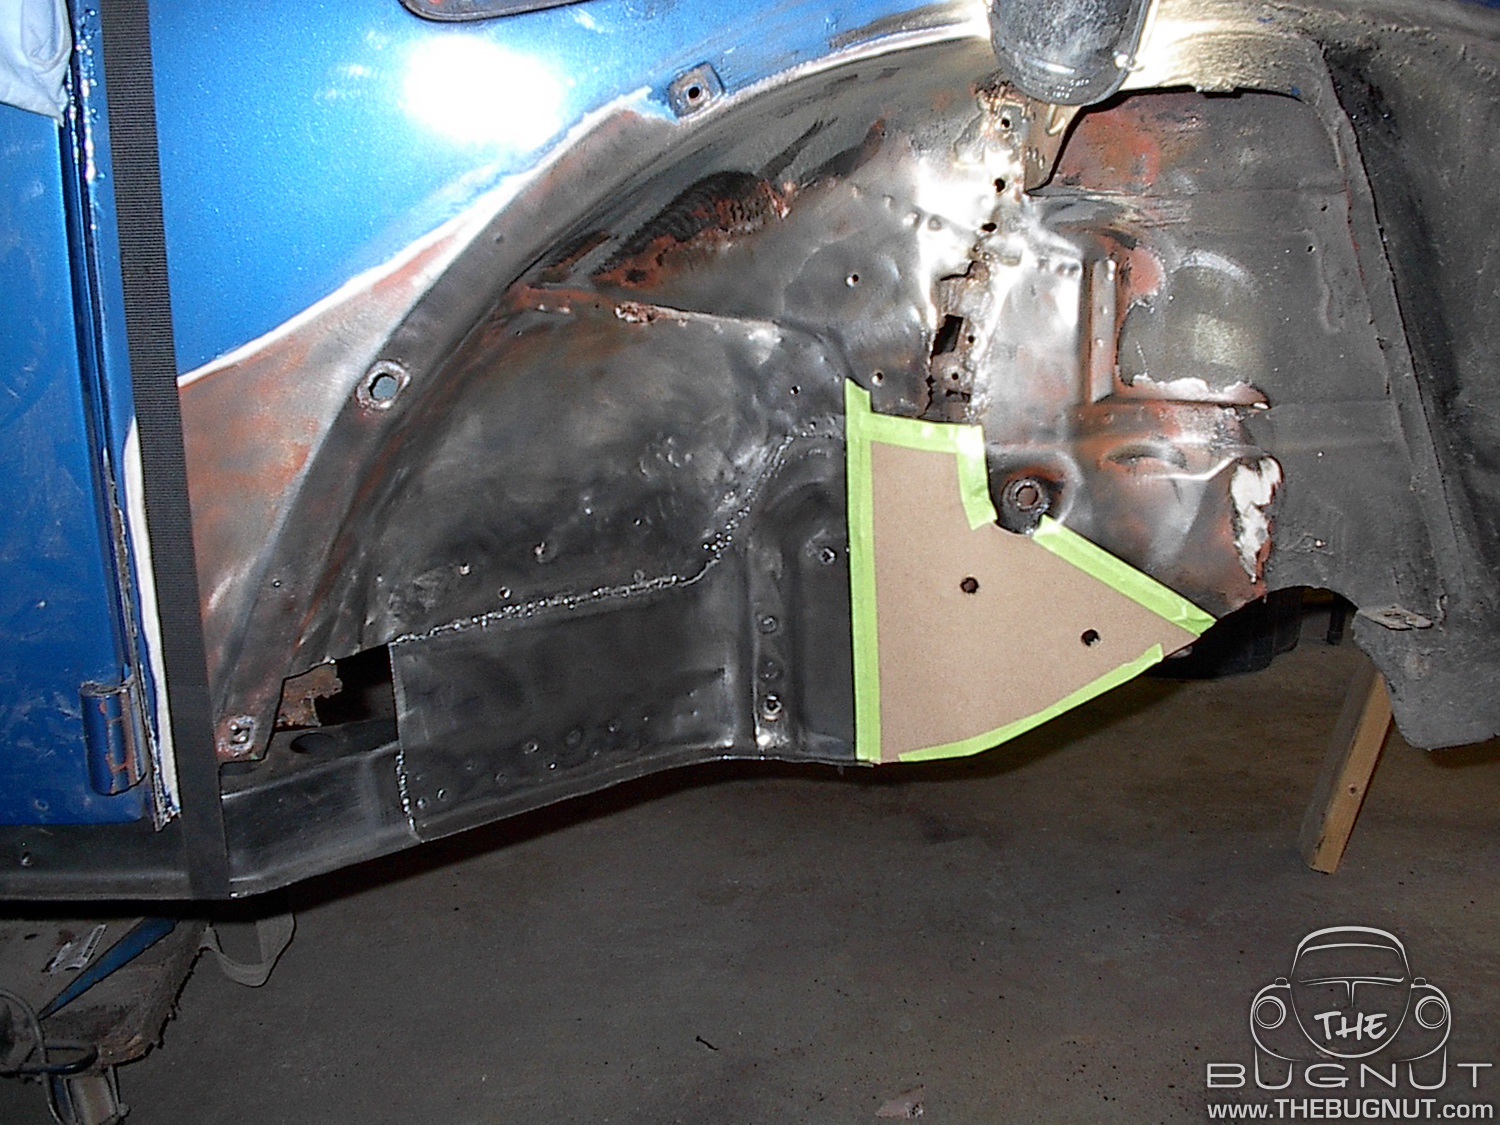
The second area required me to fabricate a skin that would cover the bolt holes for the steering components. This was a pretty easy section to work on since it was pretty flat. My utilizing another boxboard mock-up I made sure I did everything right in one shot.
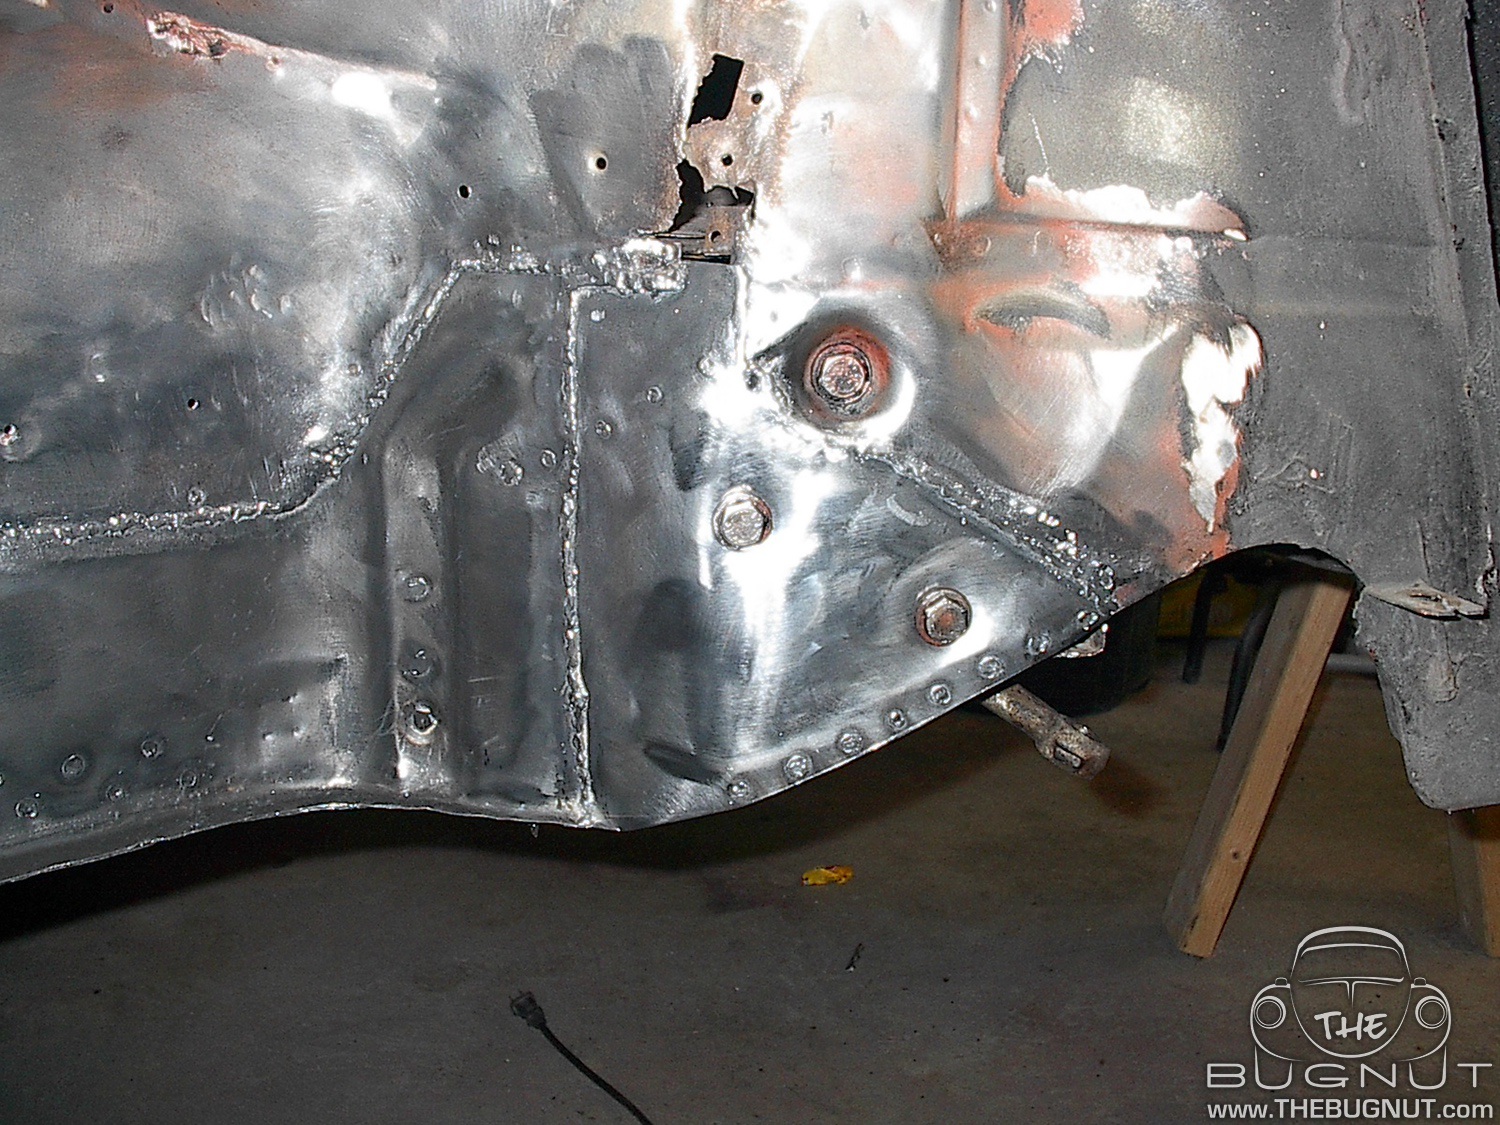
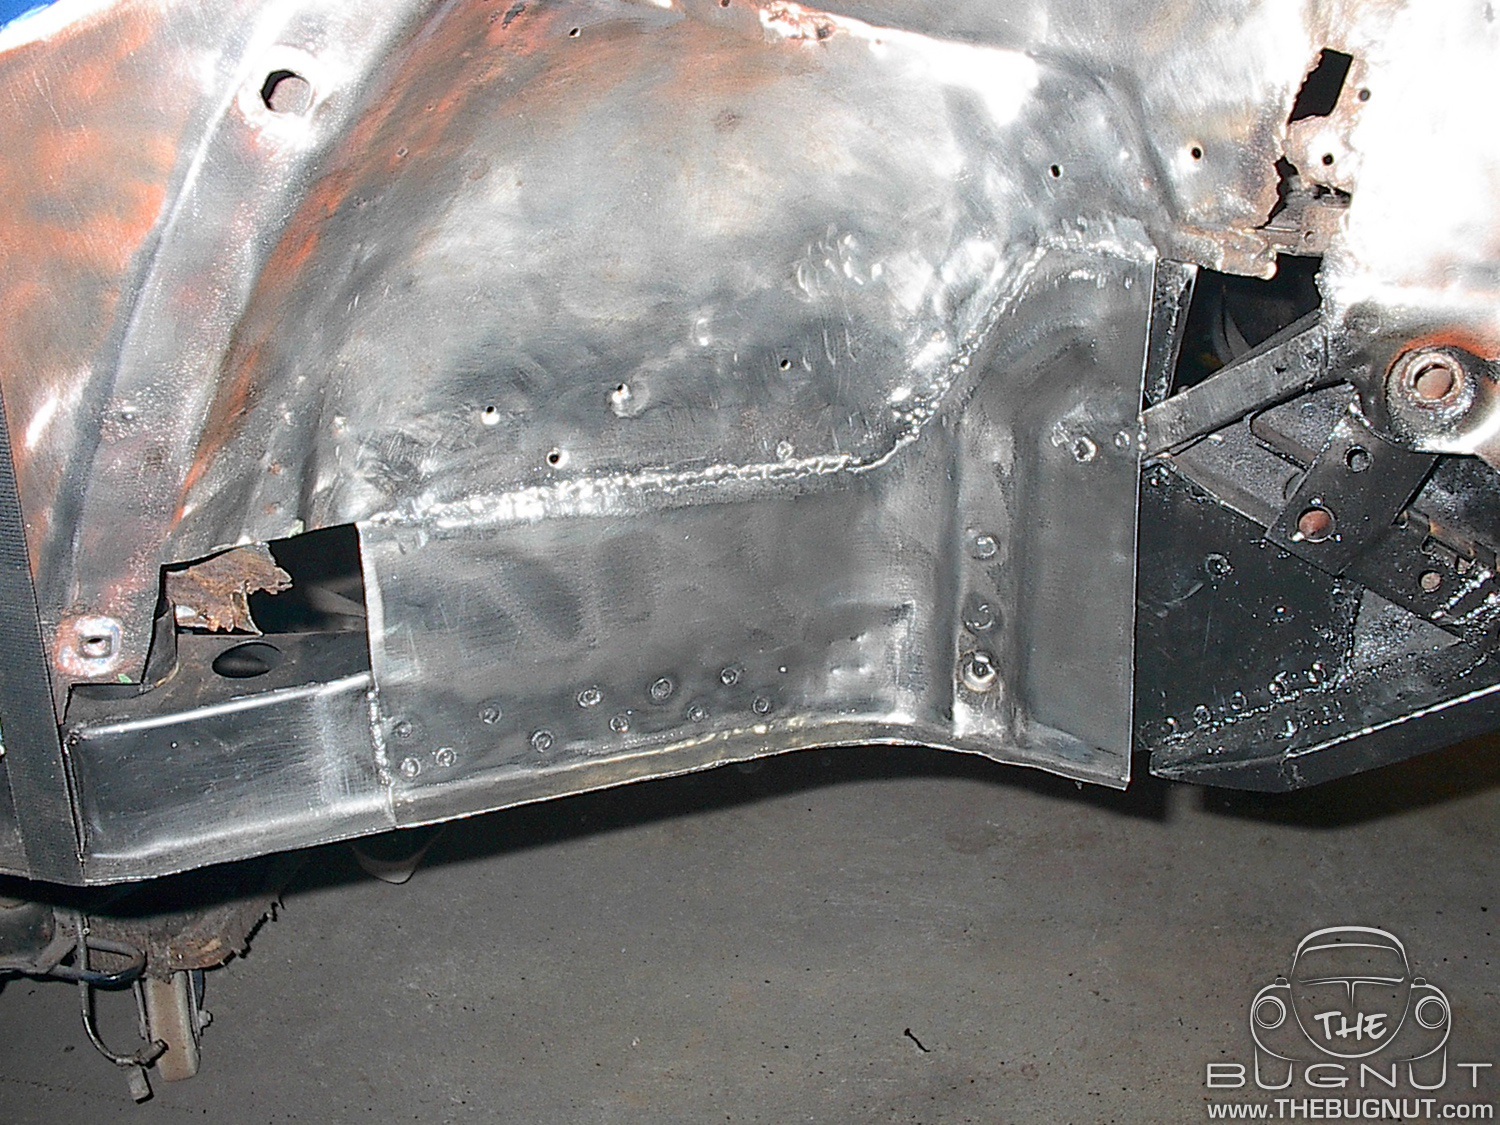
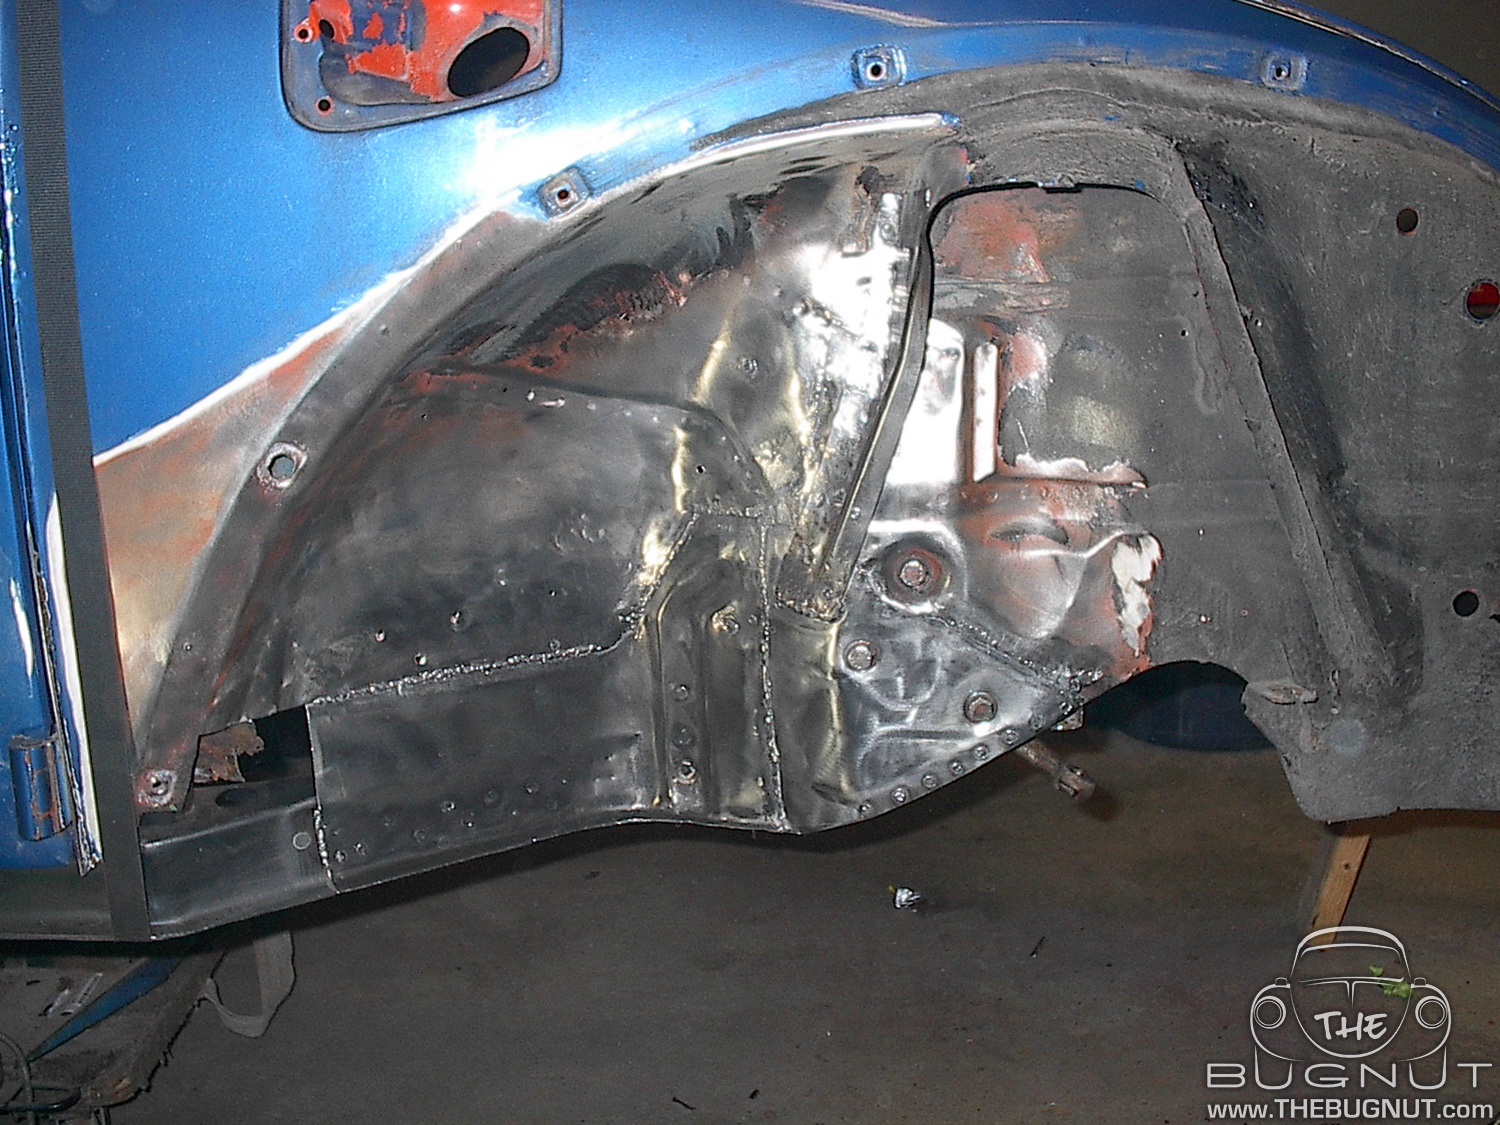
The last section for this part of the wheel well skin repair was the upper section that goes behind the strut brace. The strut braces we already removed earlier. All the rusty and twisted metal was cut away so I had solid metal and straight lines to work with. I fabricated a replacement patch and welded everything in place. Once the metal in this section was solid once again I could clean up and repair the strut brace and weld it back in place.
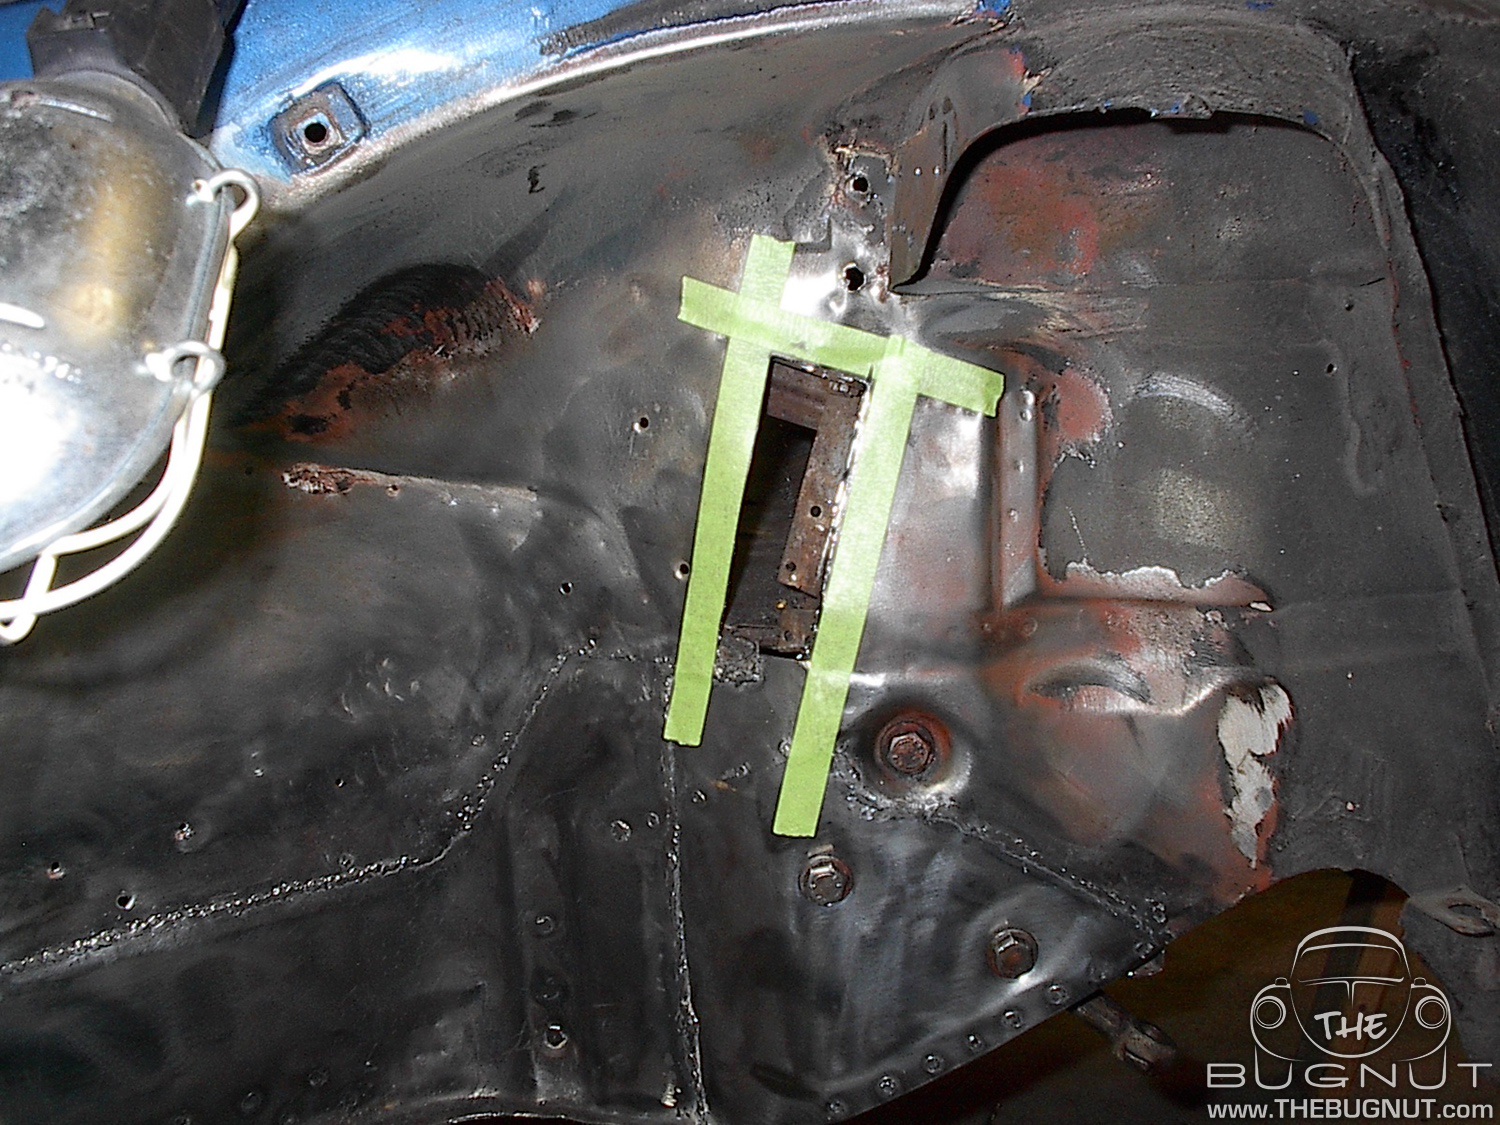
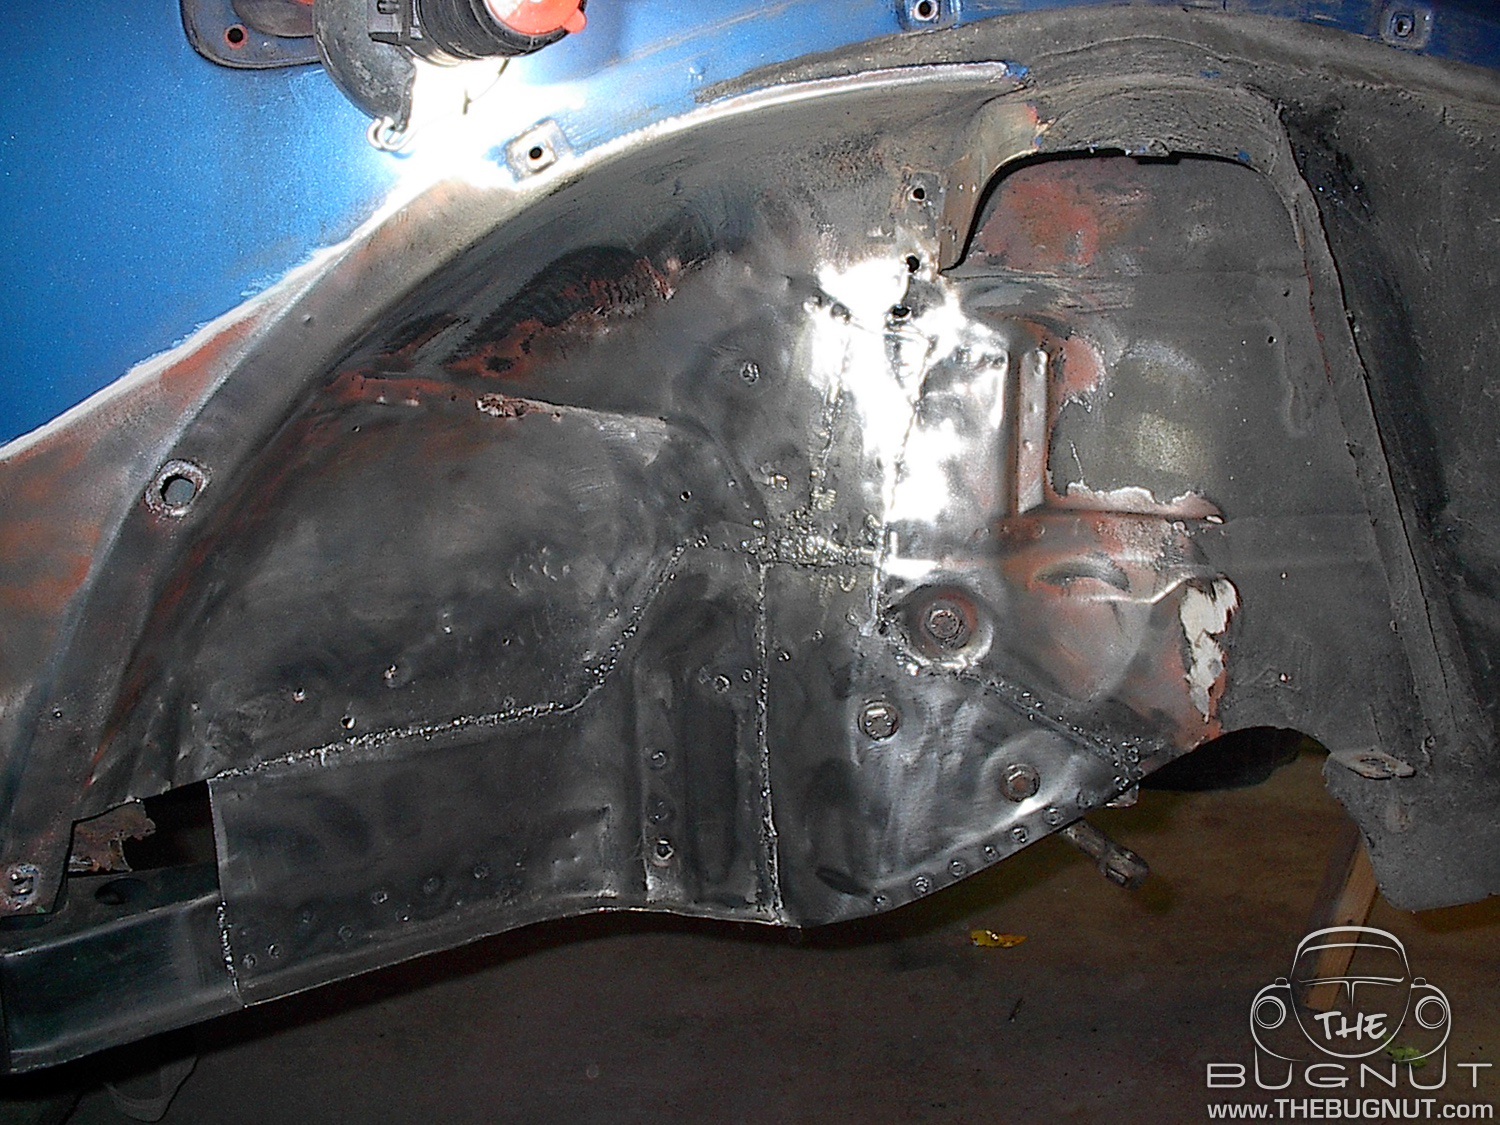
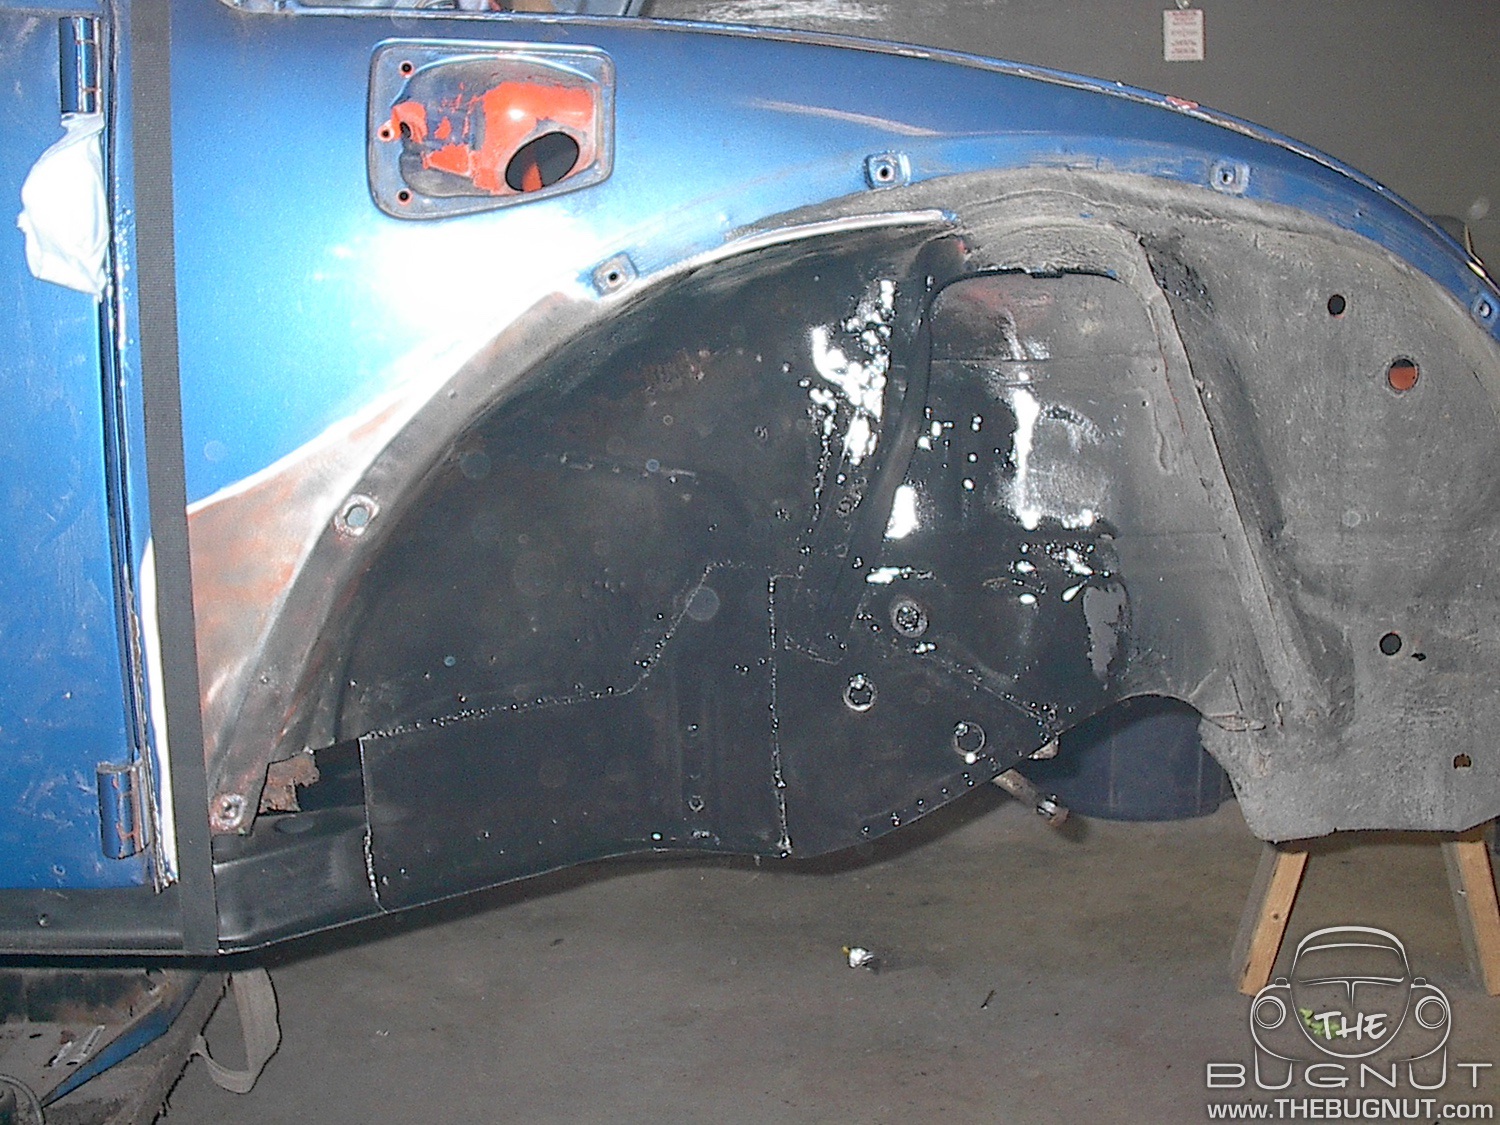
Everything in this area received a temporary coat of paint and will later be seam sealed and under coated! This entire area of the car was a lot of work but I am really happy with the results. Compared to how this area of Project #Super71 looked before it's truly day and night.
Time to move on to the rear section of this heater channel.
Thanks for following the build. Please leave your feedback, questions and comments below.
THEBUGNUT

Project #Super71 - One Rusty Frame Head
Project #Super71 - Floor Pans & Tunnel 1.0
Project #Super71 - Goodbye Gas Heater Hole

Get your 3-Pack of 4"x6" die-cut vinyl stickers for only $6.00. We will ship anywhere in Canada or USA for FREE!