


News & BLOG
Project #Super71 - Front Left Wheel Well Skin
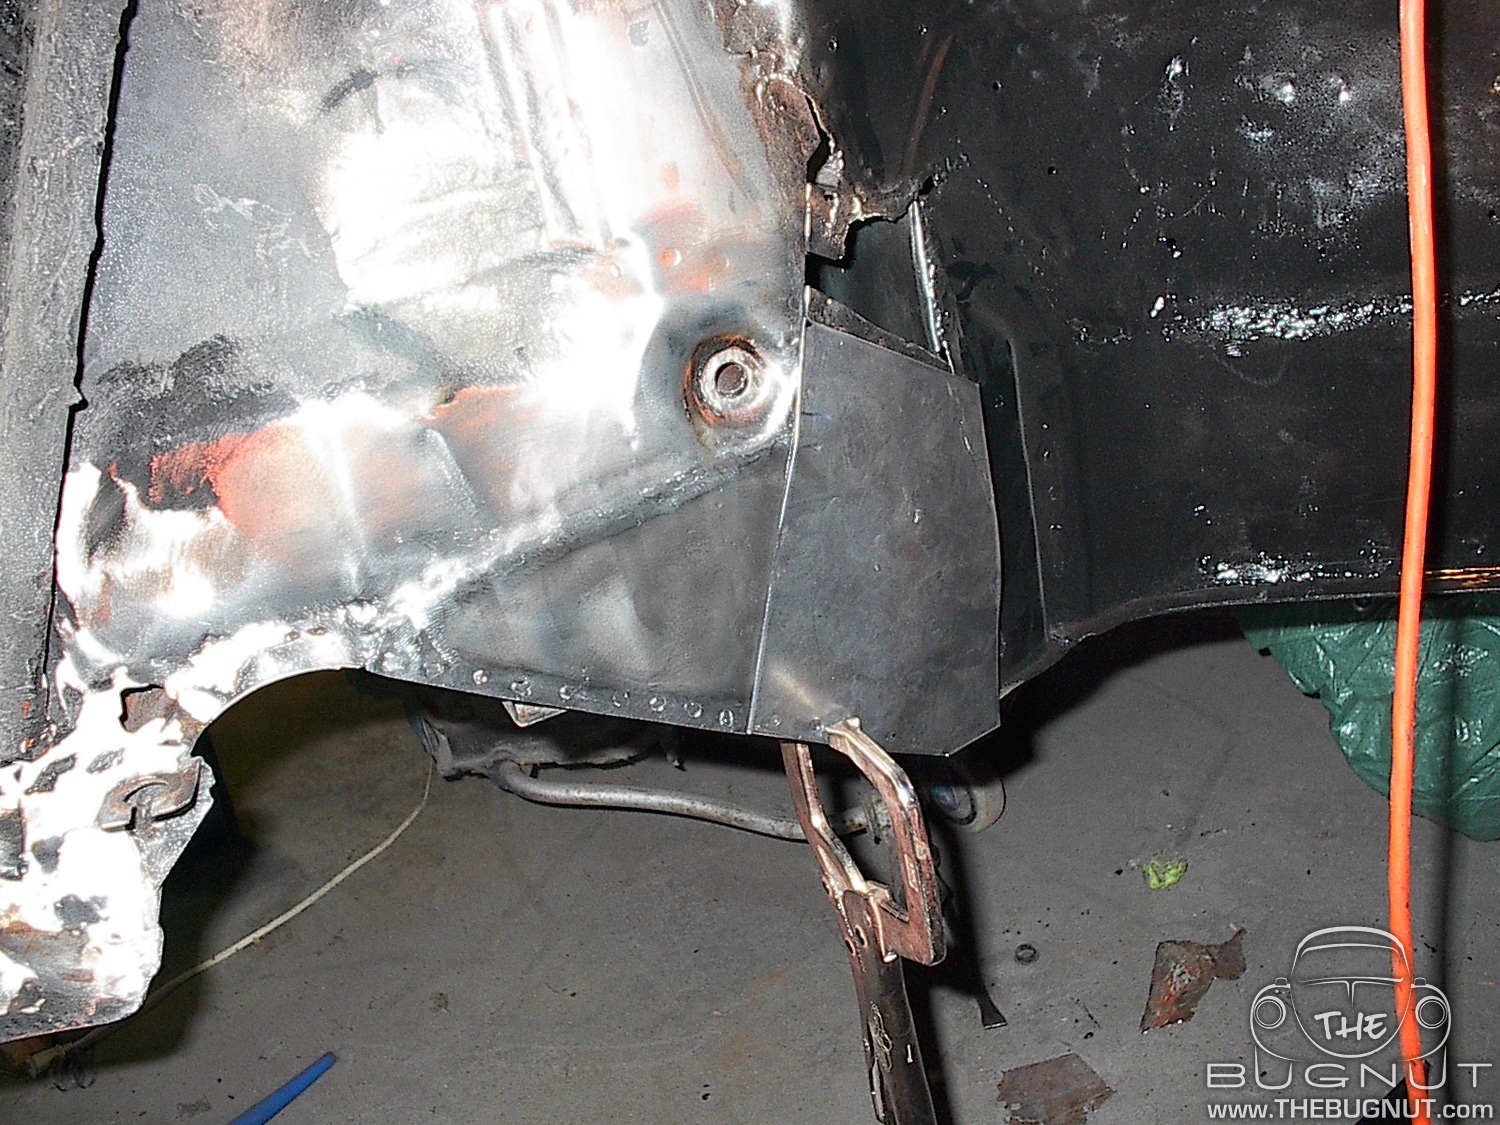
It's been a while since I have posted any new content, so I thought I would bring everyone up to date with the front left wheel well. The last time I posted we had just cleaned up the inside metal that makes up the internal support structure for this section of the Bug. It was now ready to be covered with a new metal skin. Most of this repair would be covered with a nice replacement panel I picked up from California Import Parts (CIP) that would have to be cut to fit the area in question.
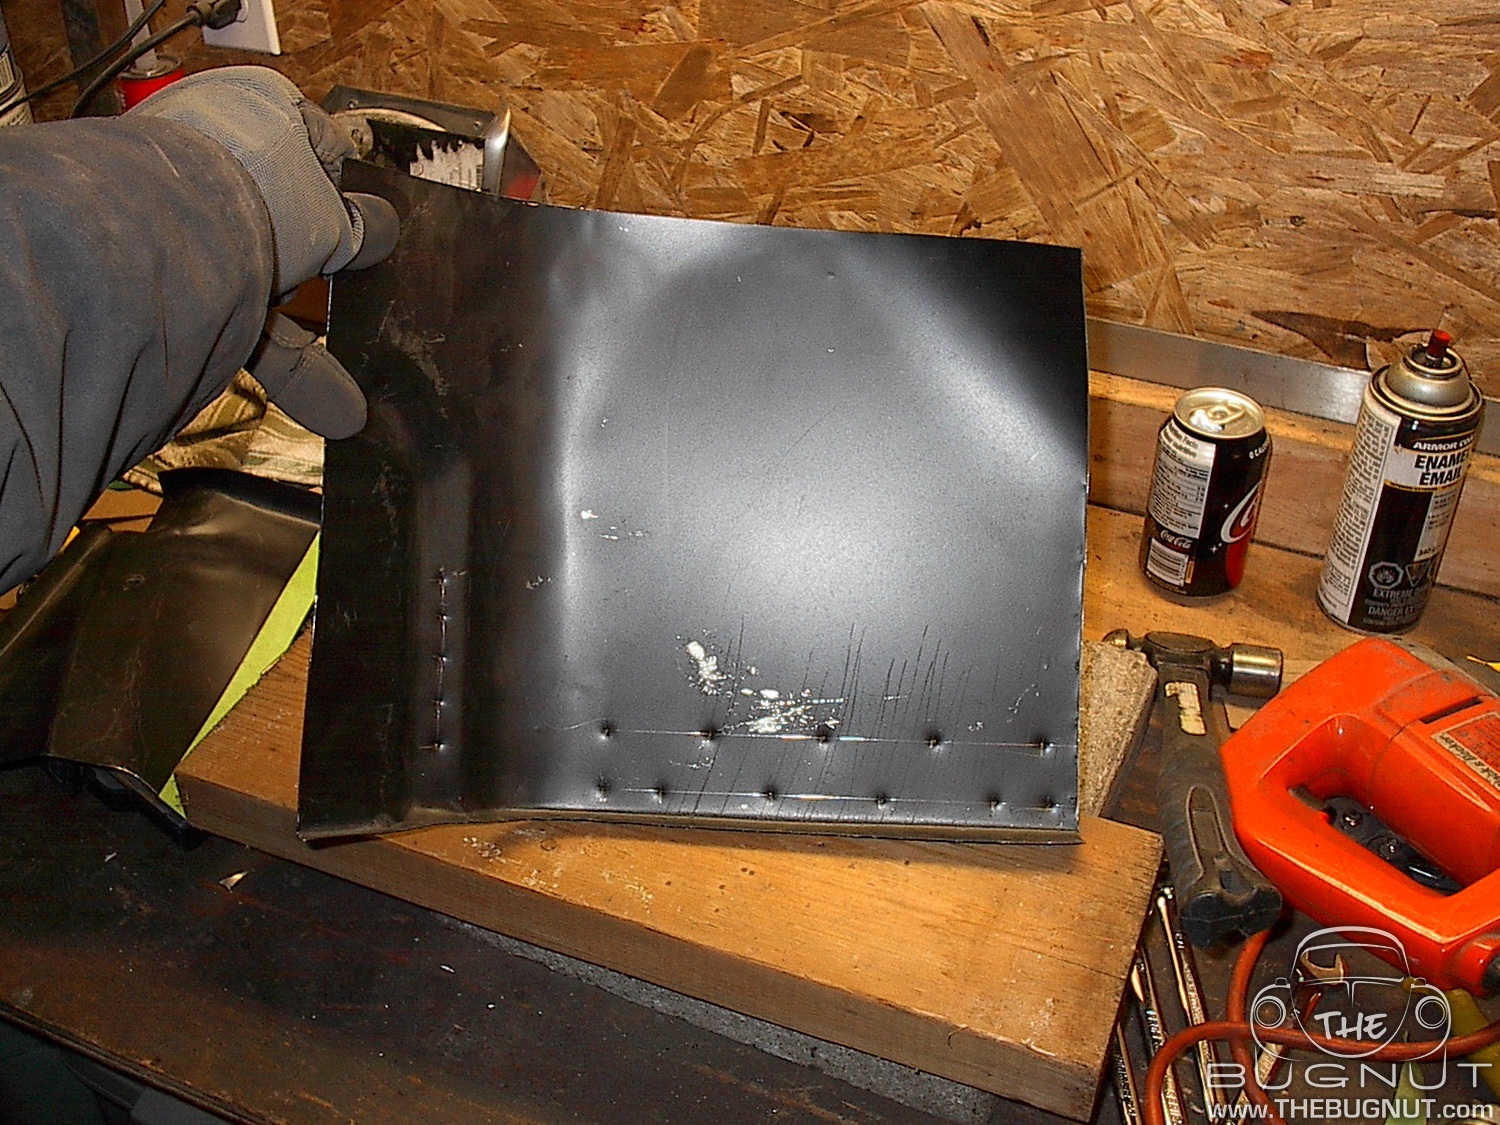
I always try and leave as much original metal as possible on the car and trim the replacement panels in order to make things fit. In this case, once I had the panel cut to the right shape I used my Pistol-Grip Air Punch and Flange Tool (Princess Auto) to add a flange to the top of the replacement panel where it would be welded to the original metal. This tool also had a punch that you can use to make perfect sized holes in the overlap for puddle welding. This is a must have tool for me. I love it.

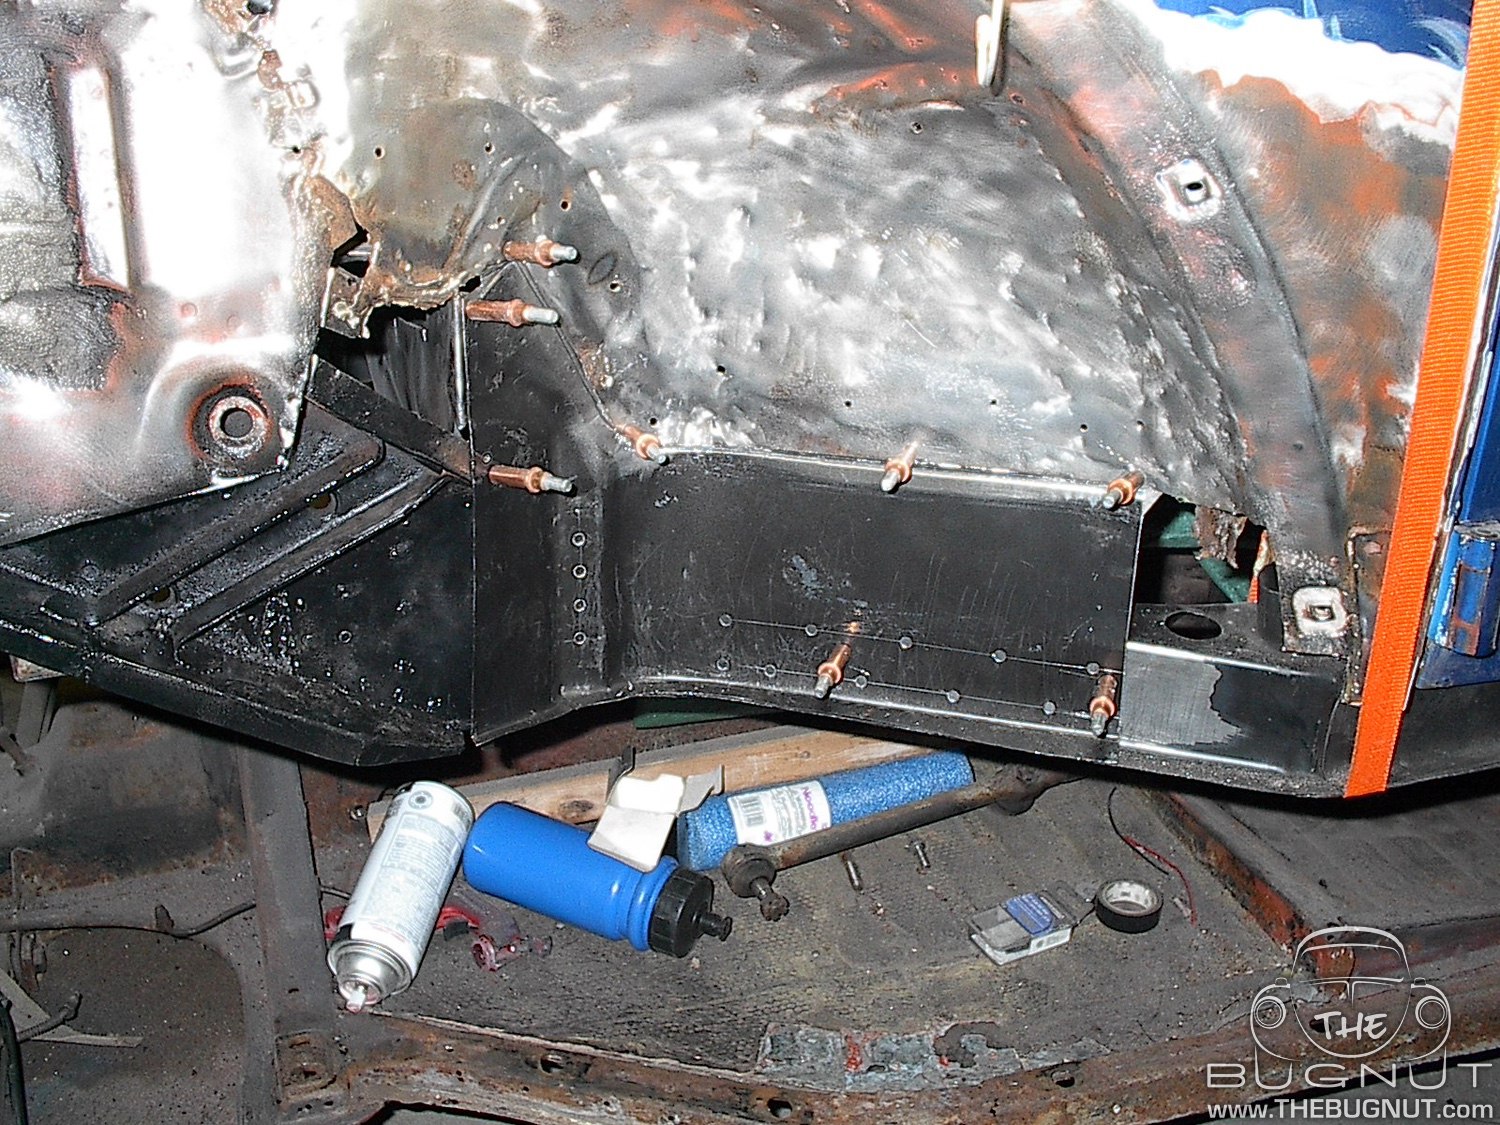
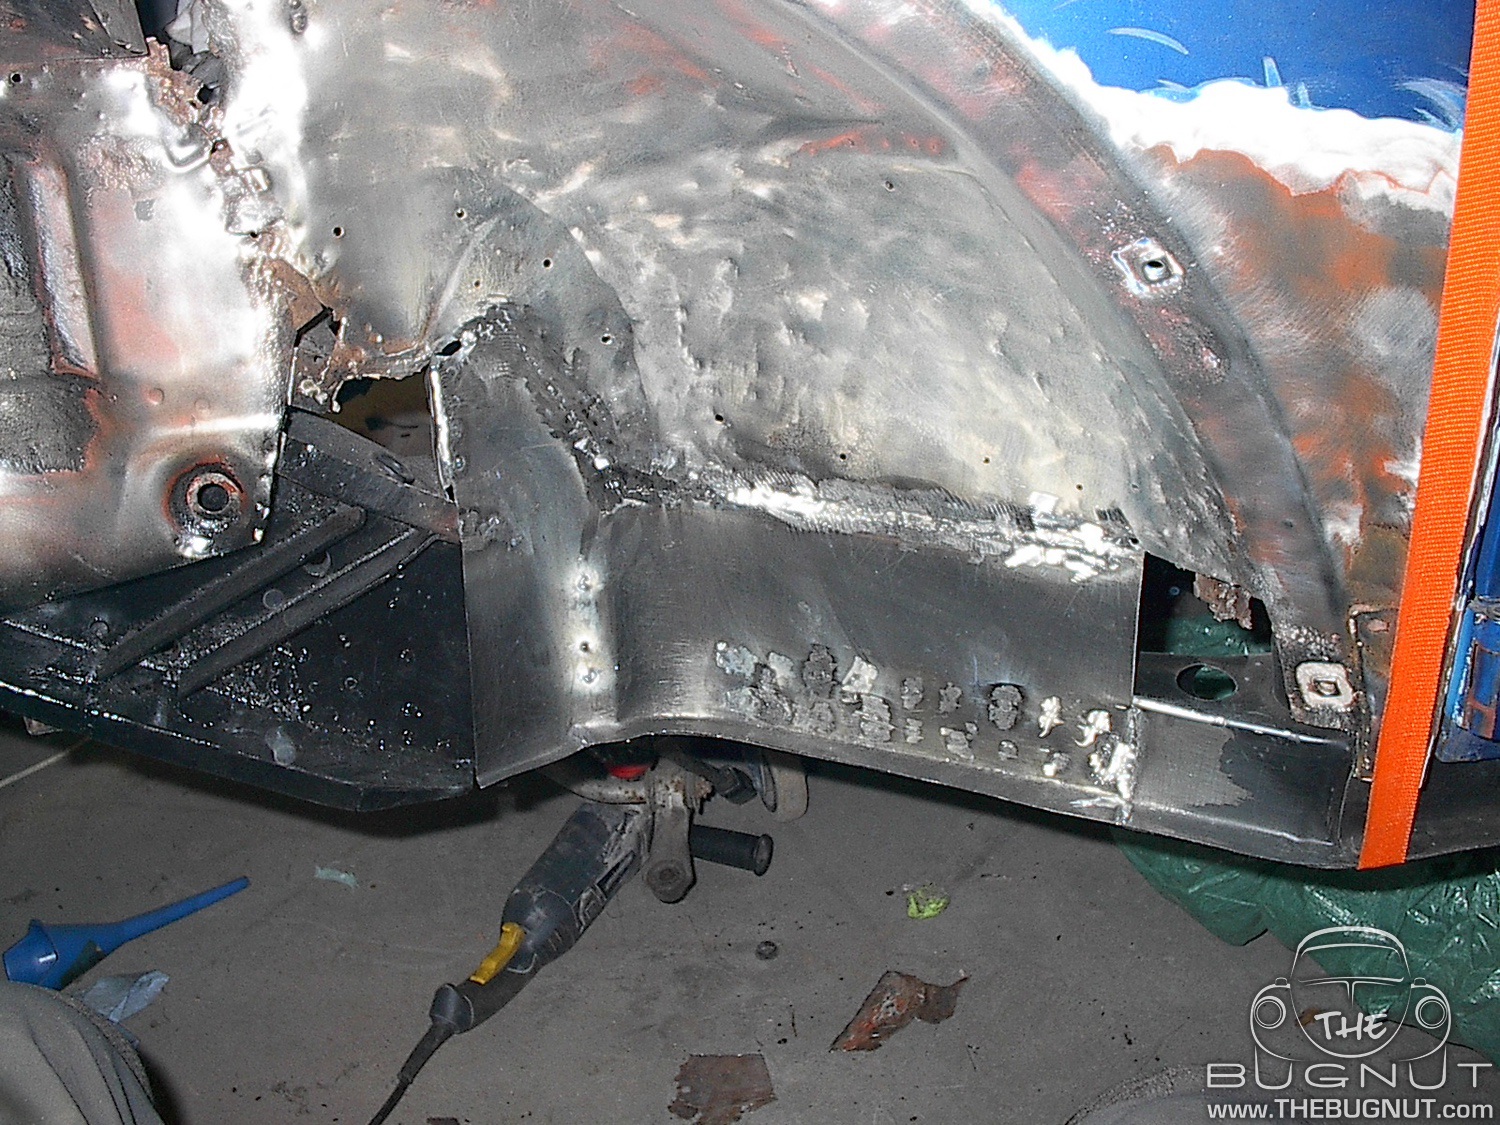
This section of the Beetle had bad rust behind the strut brace, and and as you have seen in earlier posts the metal along the heater channel / rockers was pretty much non-existent. Once I had the larger panel in place and things were pretty secure I cut out the bad metal that was living behind the old strut brace. I decided to make the repairs with a couple of smaller fabricated patches instead of trying to perfectly fit one large one. It may look a little like Frankenstein now, but eventually it will get a skim coat of filler and undercoating and will never be seen again (Hopefully).
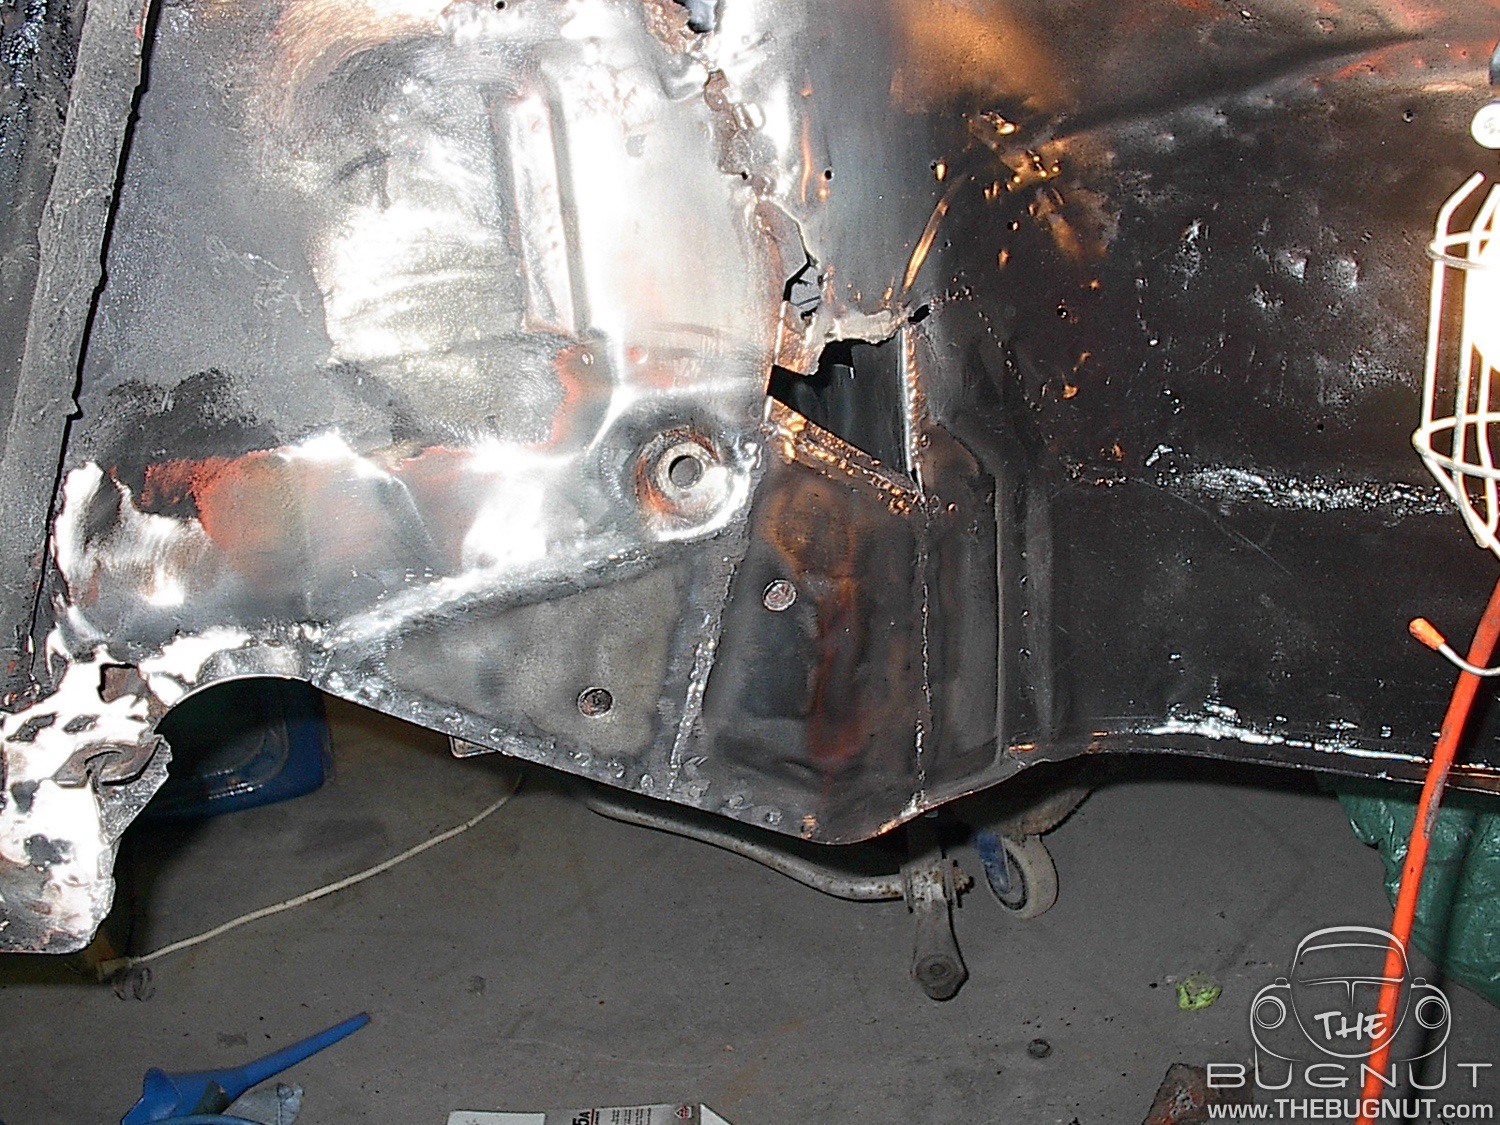
The metal in some areas where pretty thin and make welding tricky. I had to use a lower setting to keep from burin through. It was either that or cut more original metal out of the car. With every section of the Beetle restoration you have to make decisions on the fly. Since this is my own personal car all that matters is that I am happy with what ever I decide to do. As I moved up the wheel well closer to the top of the strut mount, I could weld the metal from both the outside, and inside the trunk.
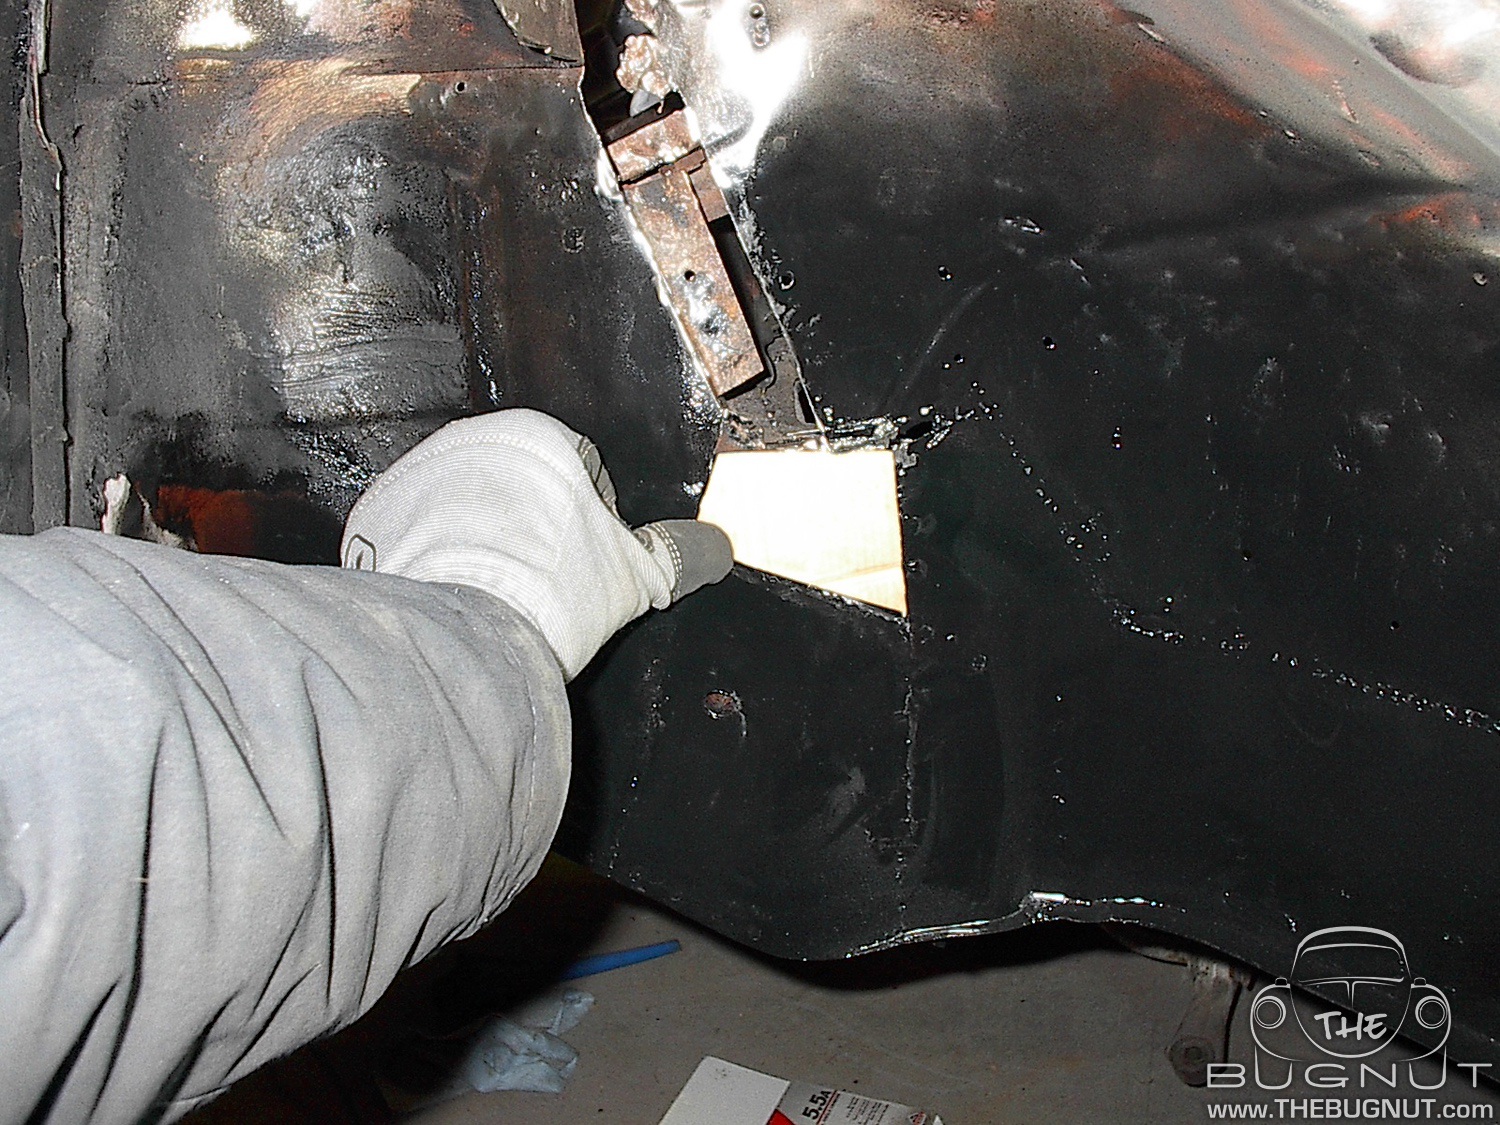
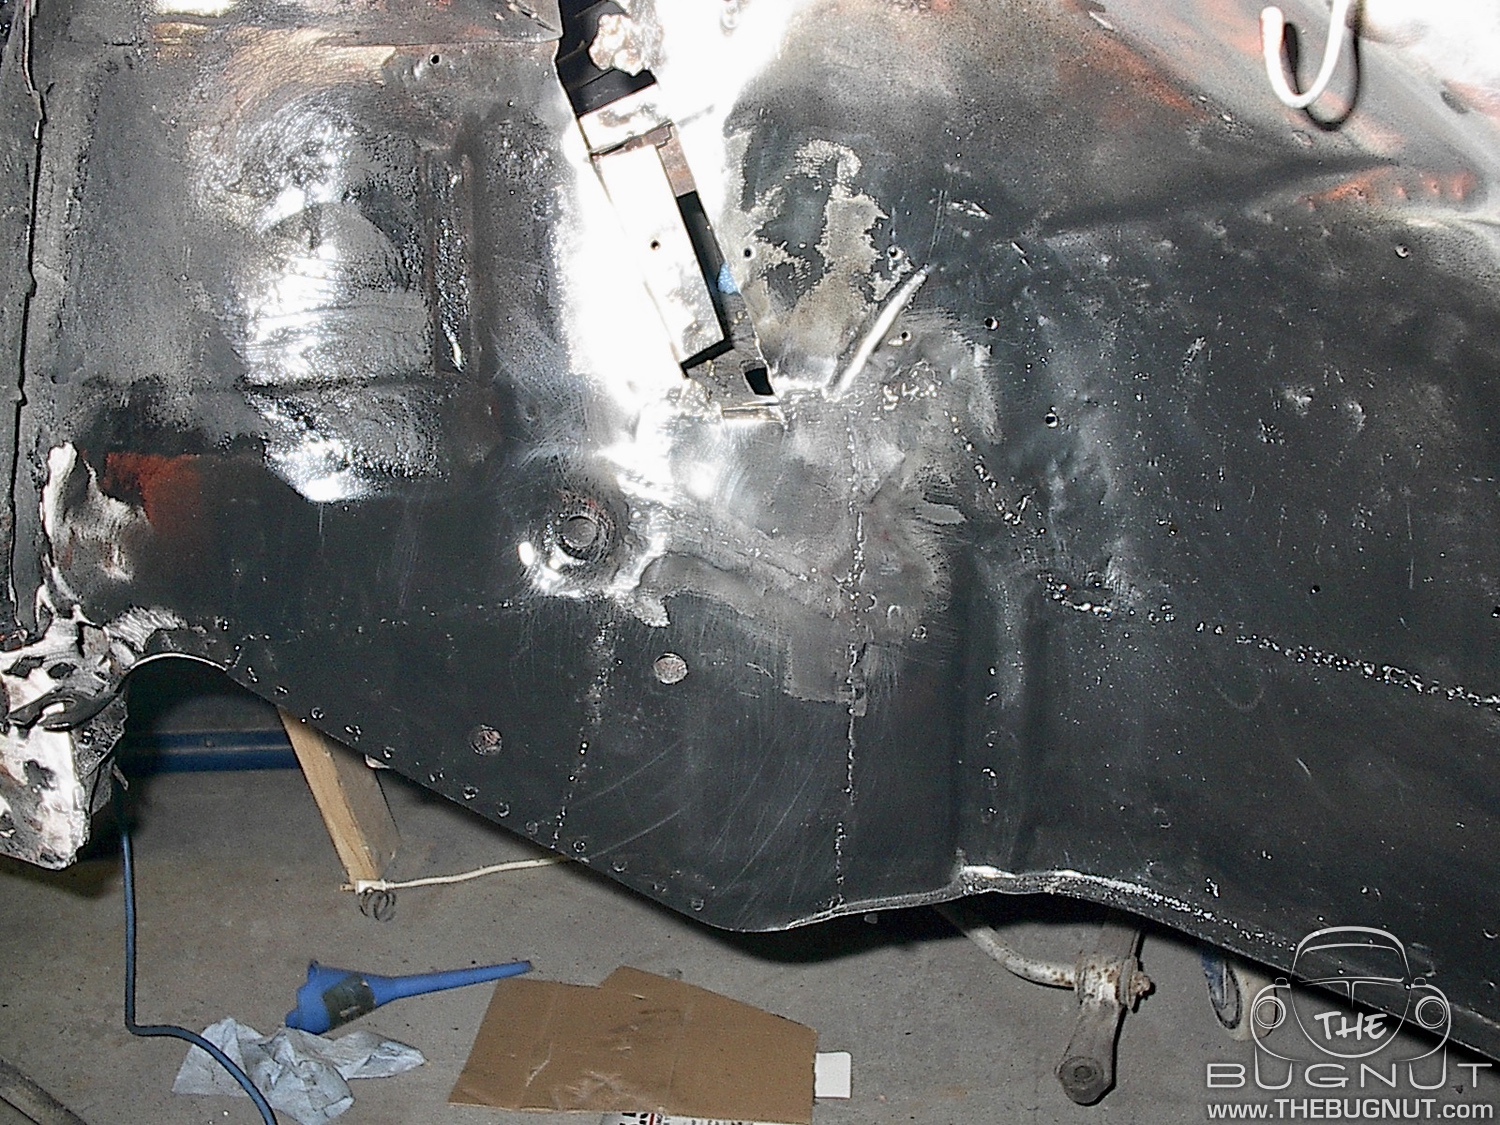
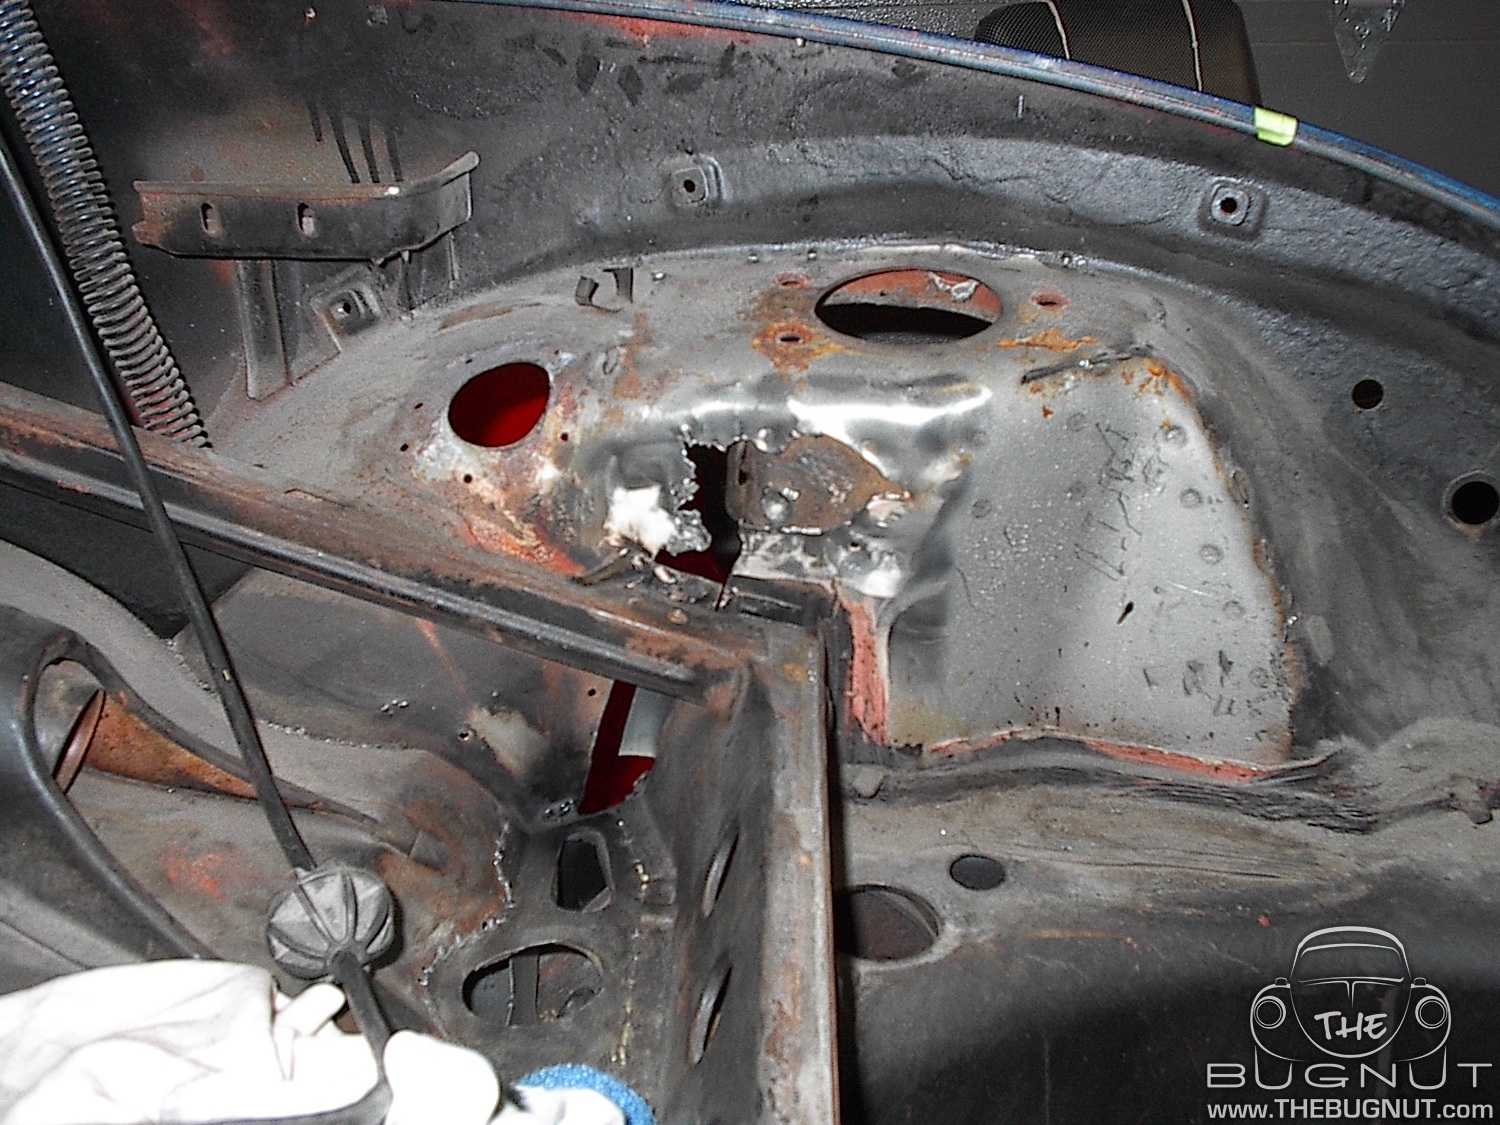

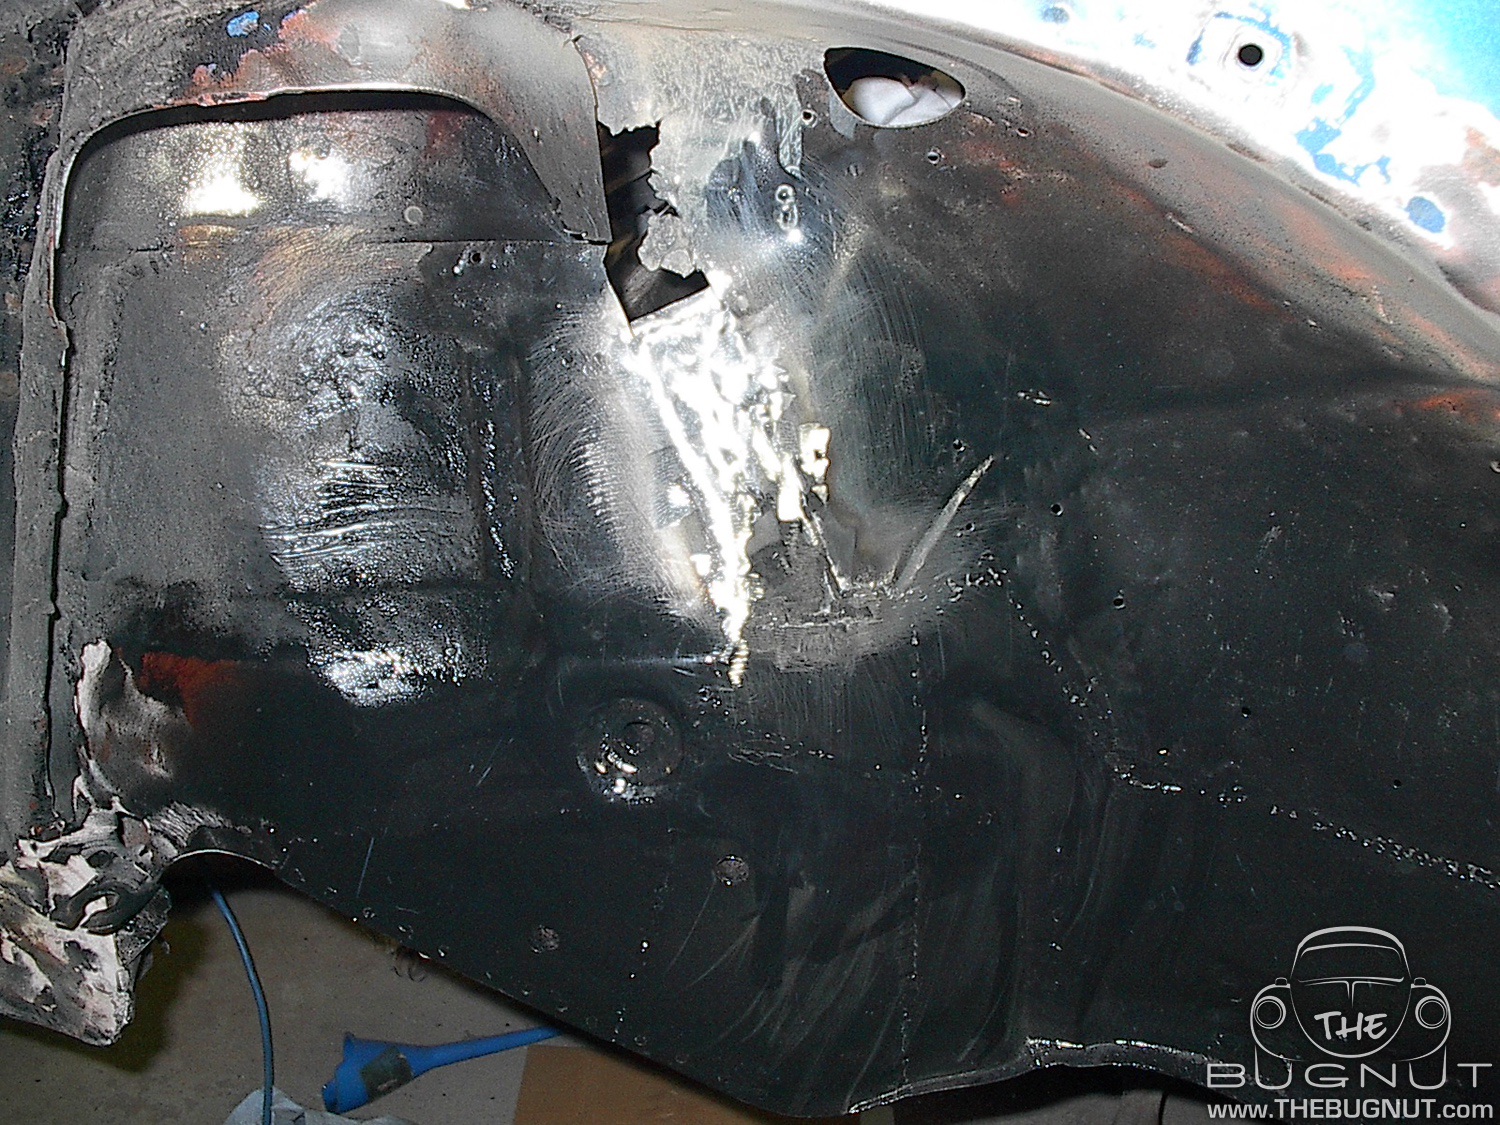
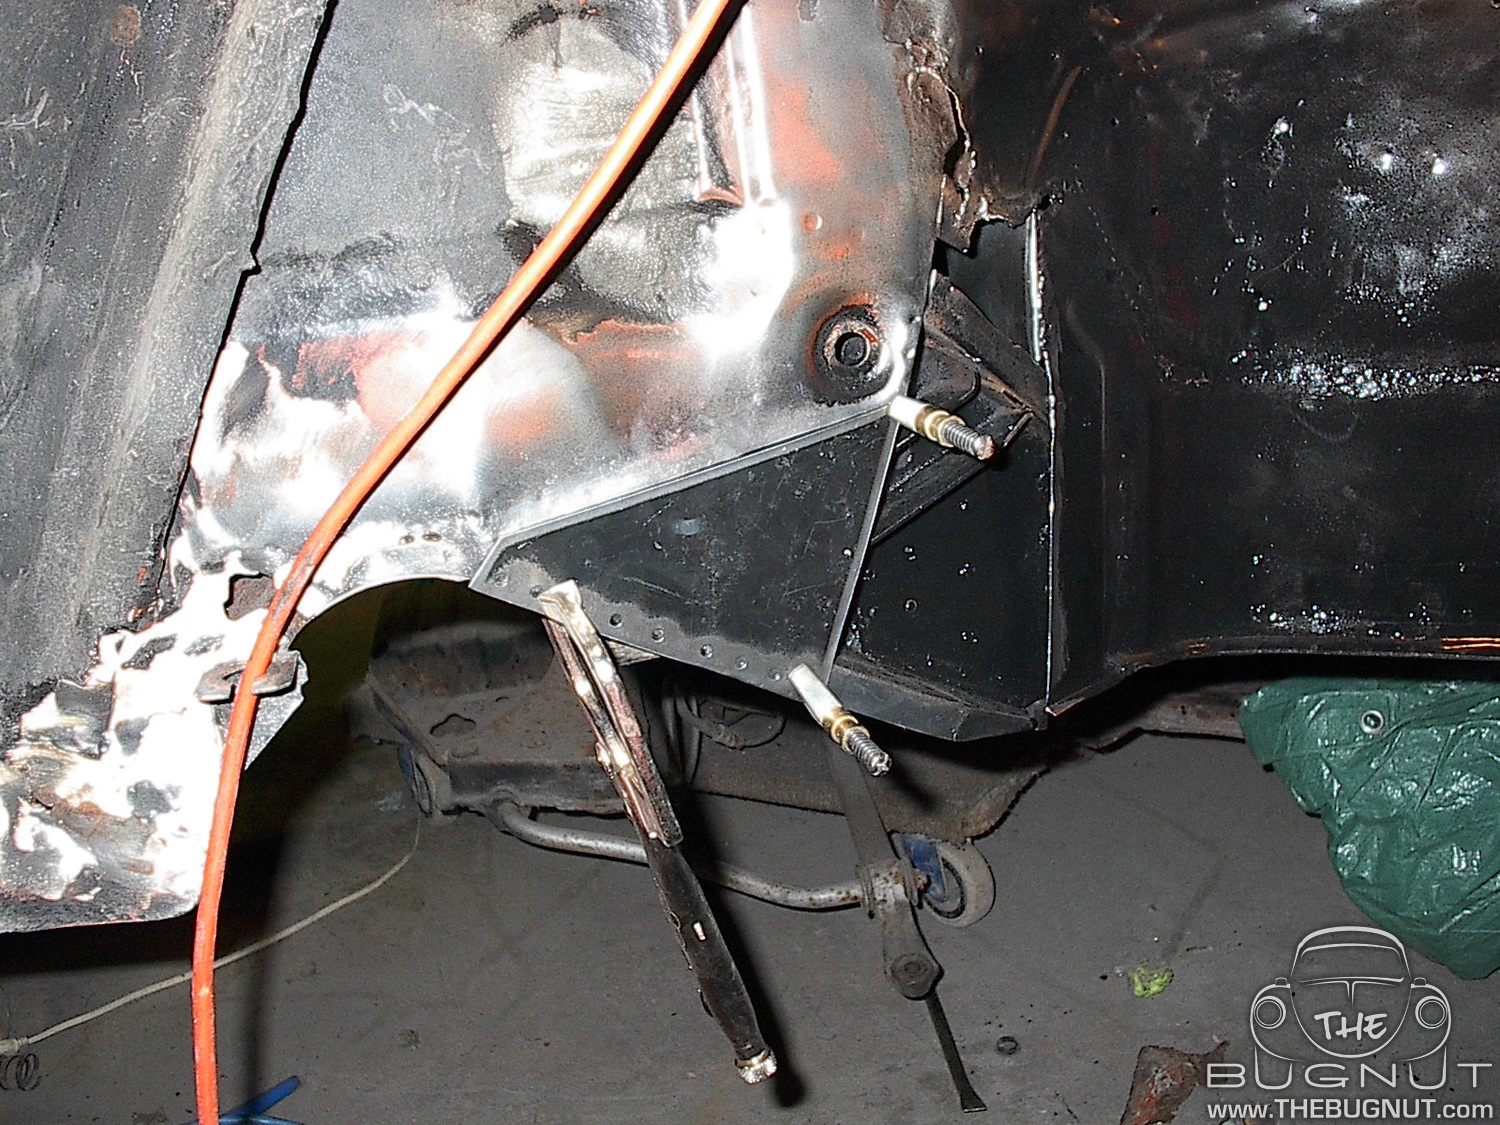
While I was in the general area I decided to carefully cut out a layer of metal on top of the strut tower from inside the trunk. This was a problem area on the car all the was back in 1996. The answer back then was a replacement panel that was simply welded over top. It worked but looked silly. I figured it would be repaired much better this time around. More careful welding and creative grinding. Once this section was completed I could get ready to weld the strut brace back in place. I will create a new post for that.
Thanks for following the build. Please leave your feedback, questions and comments below.
THEBUGNUT

Project #Super71 - One Rusty Frame Head
Project #Super71 - Floor Pans & Tunnel 1.0
Project #Super71 - Goodbye Gas Heater Hole

Get your 3-Pack of 4"x6" die-cut vinyl stickers for only $6.00. We will ship anywhere in Canada or USA for FREE!